DIY Fireplace Transformation – Built-Ins, Mantle, and LED Lighting
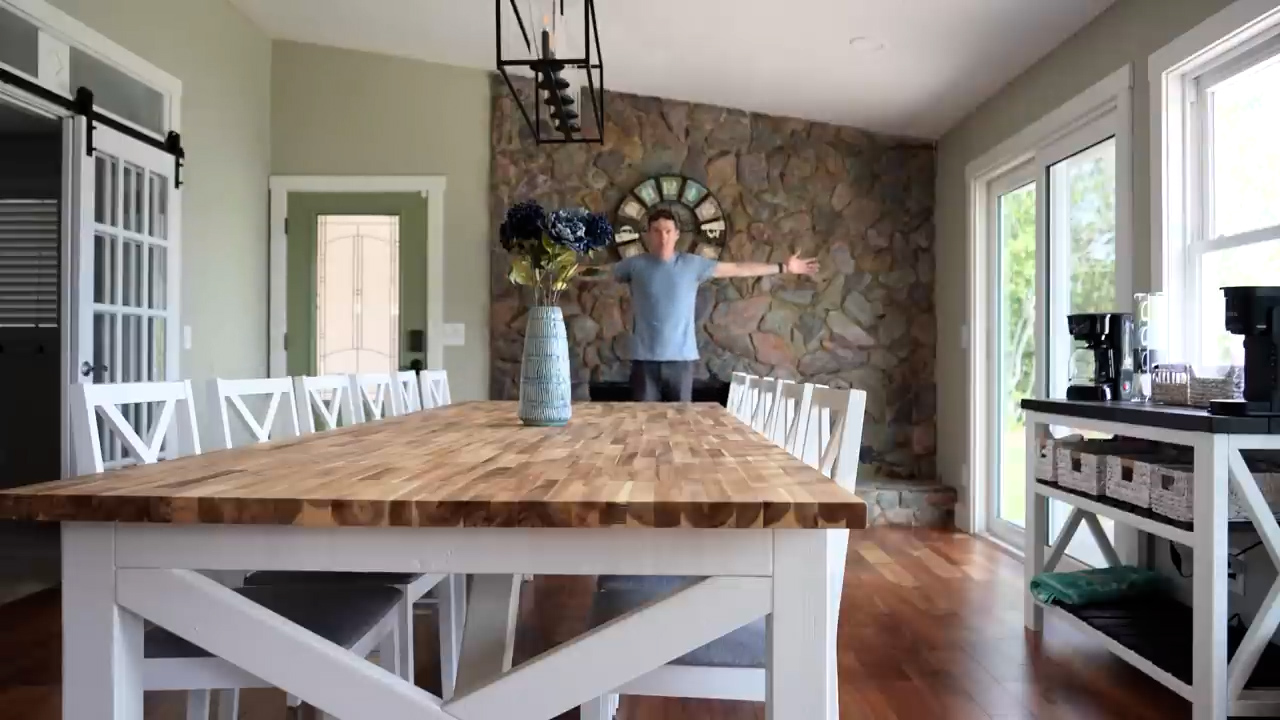
May 22, 2026I’m still hard at work on my big robotic lawnmower review, but a lot of it is just waiting around for mowing tasks to finish. So, I figured I’d put my time to good use by solving the most first world problem imaginable: the fireplace in the dining room of my lake house is not centered on the wall. It drives my symmetry OCD absolutely insane.
I started by doing the 2026 thing and asked ChatGPT to help me fix it. As usual, it completely missed the point and tried to fix it by just altering reality, and after a few back-and-forth’s, I ended up just helping out by using Photoshop. But once the built-in bookshelf was in place, ChatGPT actually did a great job helping me decide on the placement and color of the mantle. More importantly, I absolutely fell in love with the warm white LED accent lighting on the fireplace, so I set out to try and copy the ChatGPT render as closely as possible.
I started by building a simple bookshelf out of plywood, and of course it didn’t fit because of the irregular stone, so I cut ¾ of an inch off of the bottom to get it into place, and guess what? Now it was ¾ of an inch too short, but we’ll deal with that later.
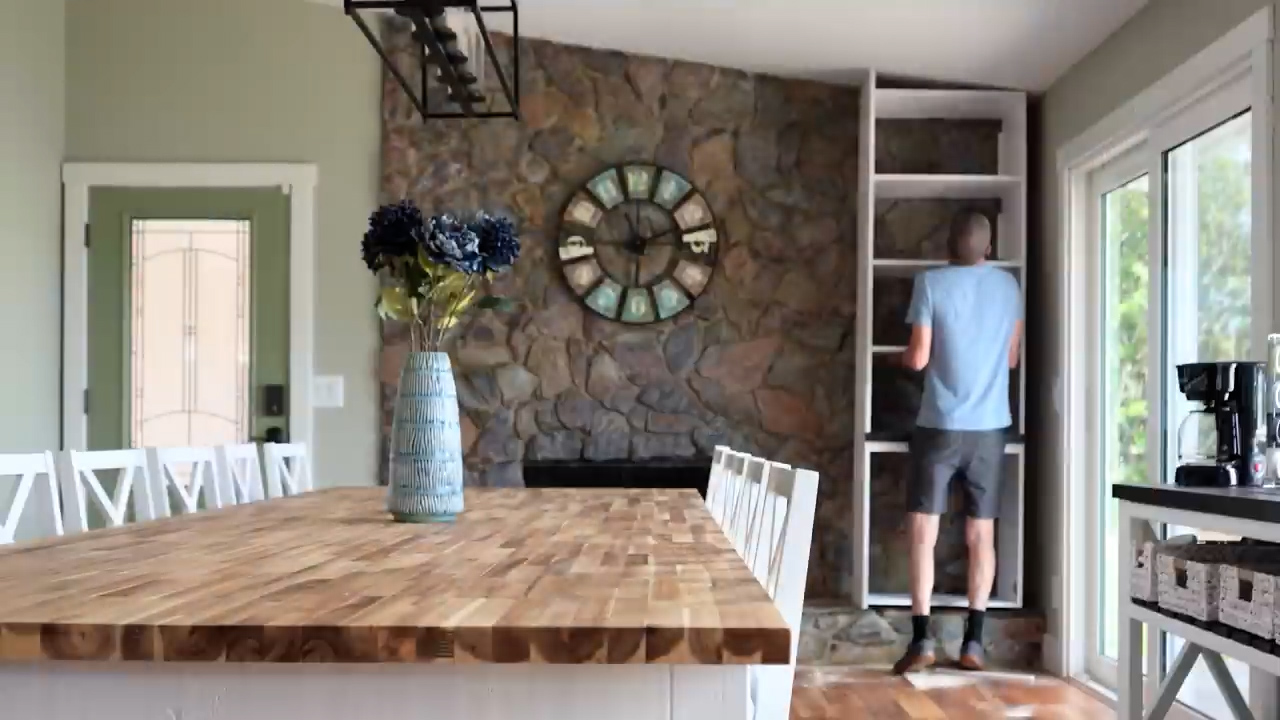
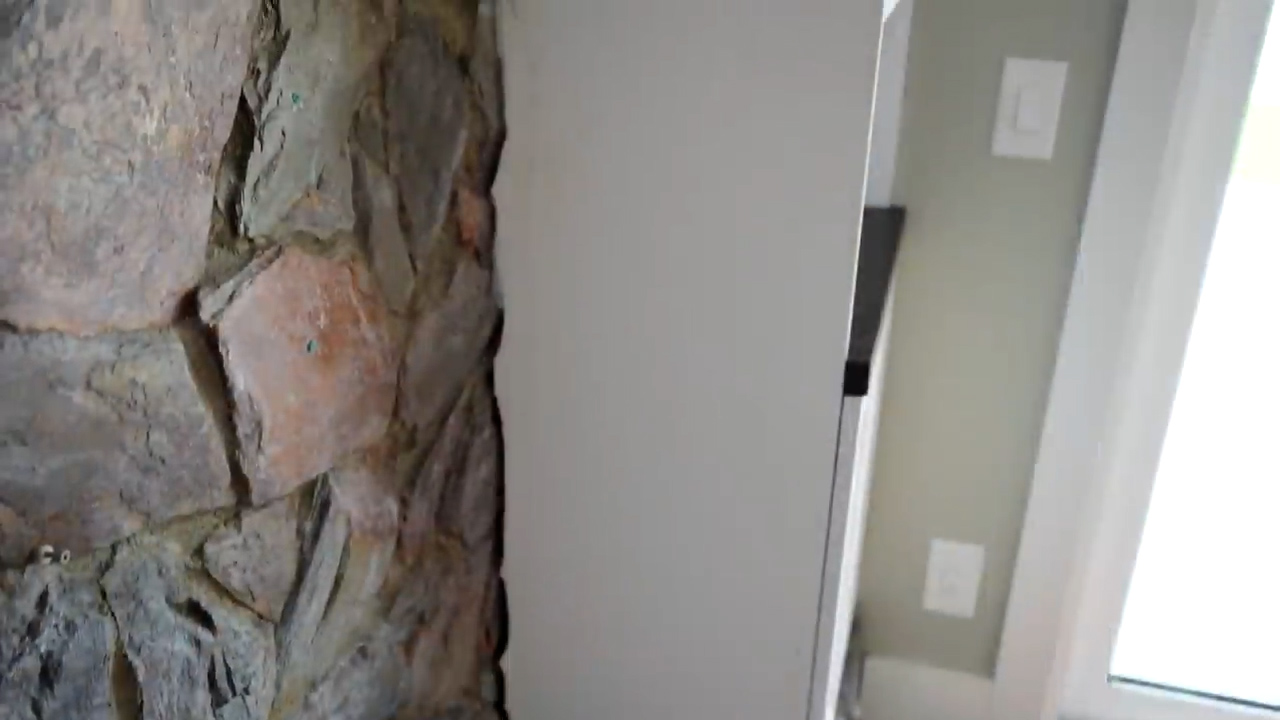
The back of the shelf also didn’t come anywhere close to flush with the fireplace, so I marked it with a cheap scribing tool off of Amazon and cut out the rough shape with a jig saw. Overall, I’d give myself a C– on this job because even though it more or less matches the stone, it still has a pretty big gap between the shelf and the wall. But again, that sounds like a problem for future me, so I went ahead and leveled the shelf and screwed it into the stud on the side wall before moving onto the mantle.
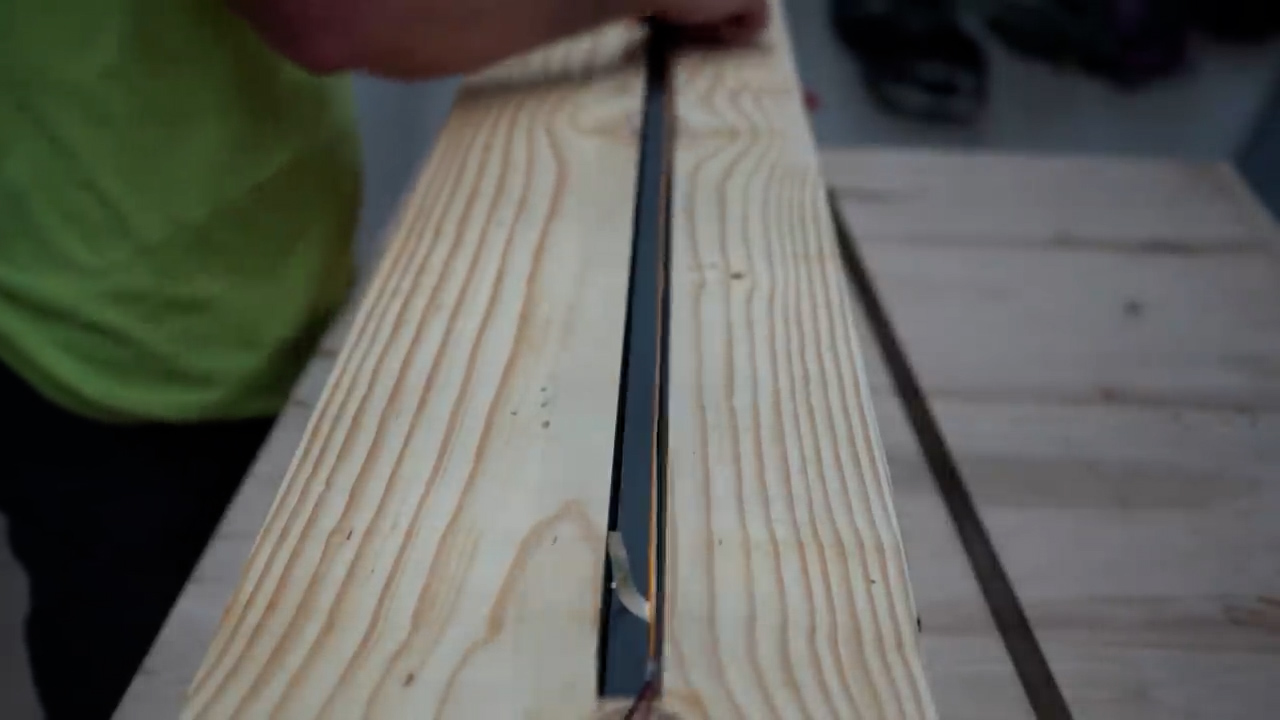
So, I just spent the past five or six hours turning some pretty big boards into something that looks like a really big board. This is southern yellow pine, 2x10s and a 2×8 that I cut down and made into this mantle. The plan is to have LED lighting both on the top of the mantle and the bottom of the mantle. The problem with that is that the top of the mantle is going to be very visible. So, as you walk inside the front door at the lake, the top of the mantle is going to be directly in your line of sight.
A while back, I did a review of LED diffuser channels and I’ve got these black ones here leftover that once the mantel is stained to a darker color, I think the black diffuser channel is going to disappear nicely. But I also have these smoked, clear covers for them. During my review, I hated these covers because I was trying to figure out which cover would diffuse the light the best and these don’t diffuse it at all, you can see right through them. What I’m hoping I can do is install the LED strip on the side of this channel pointing backwards and have it still provide a little bit of upward light. I’m going to show you a couple of tests of that right now.
Here’s the LED strip mounted on the bottom of the diffuser, 2 inches from the front of the mantle.
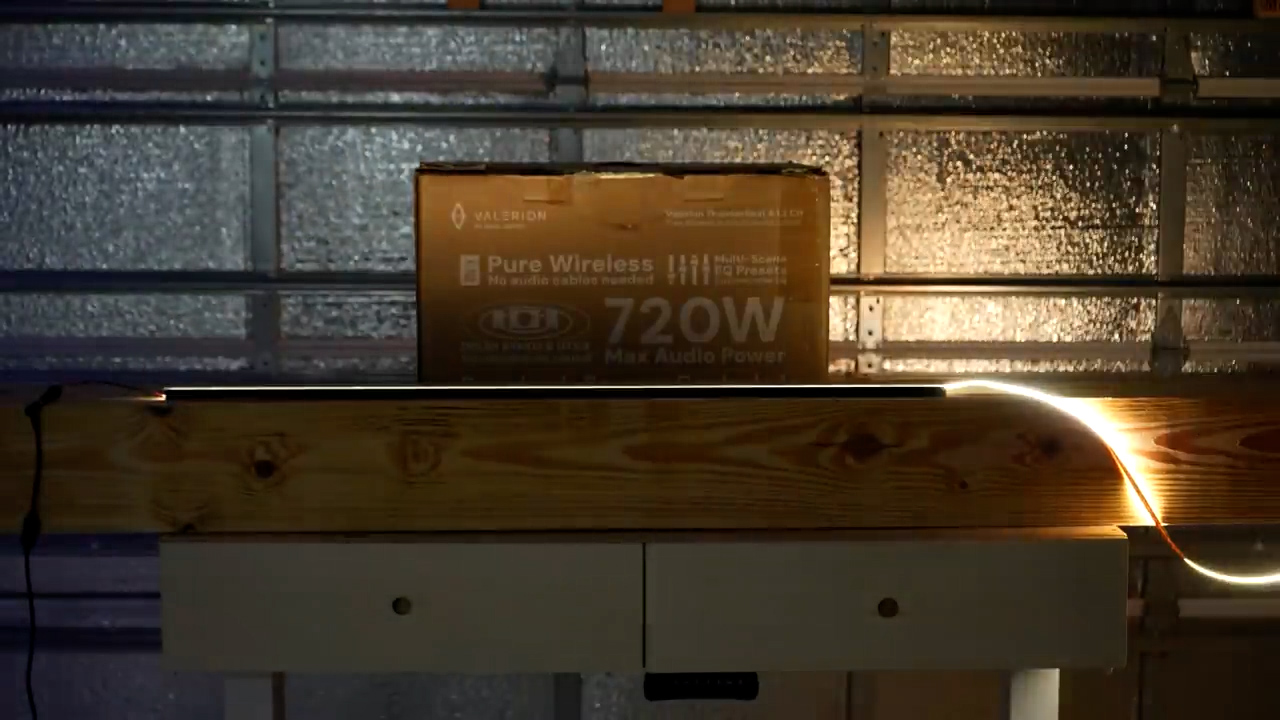
Here’s what it looks like 2 inches from the back of the mantle.
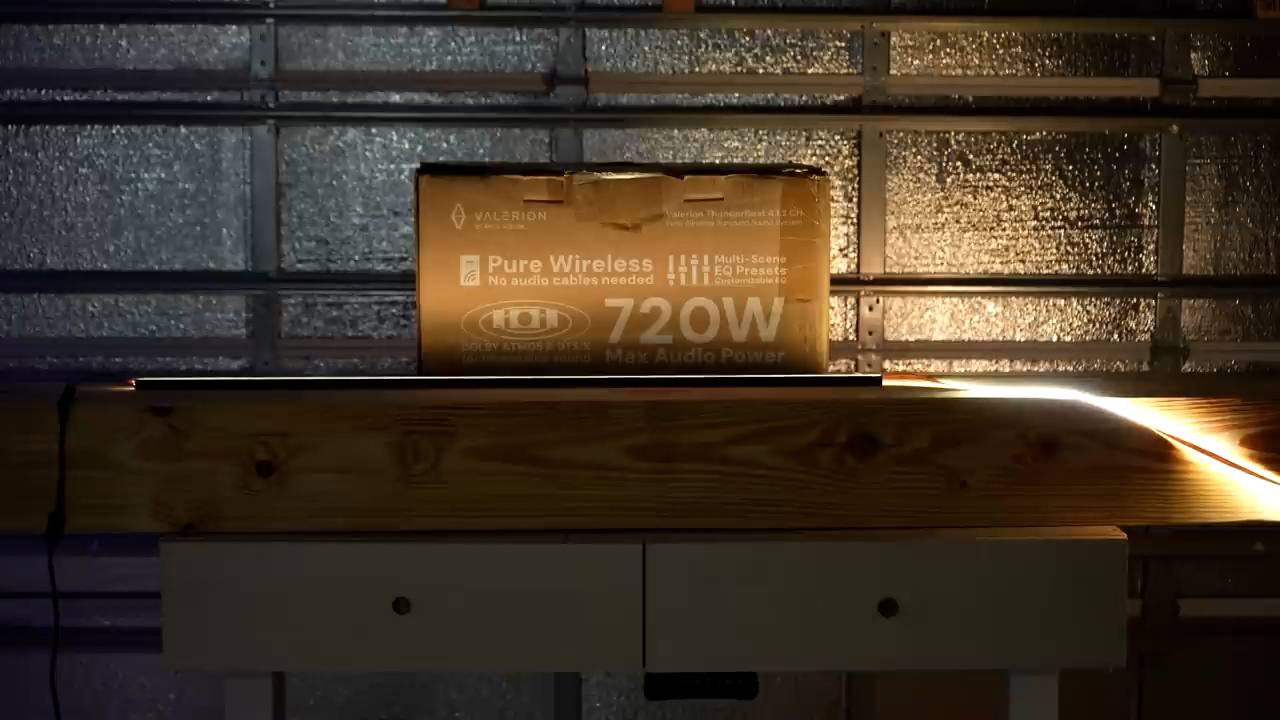
Then here’s the LED strip mounted on the front inside edge of the diffuser pointed towards the wall with the diffuser 2 inches from the front of the mantle.
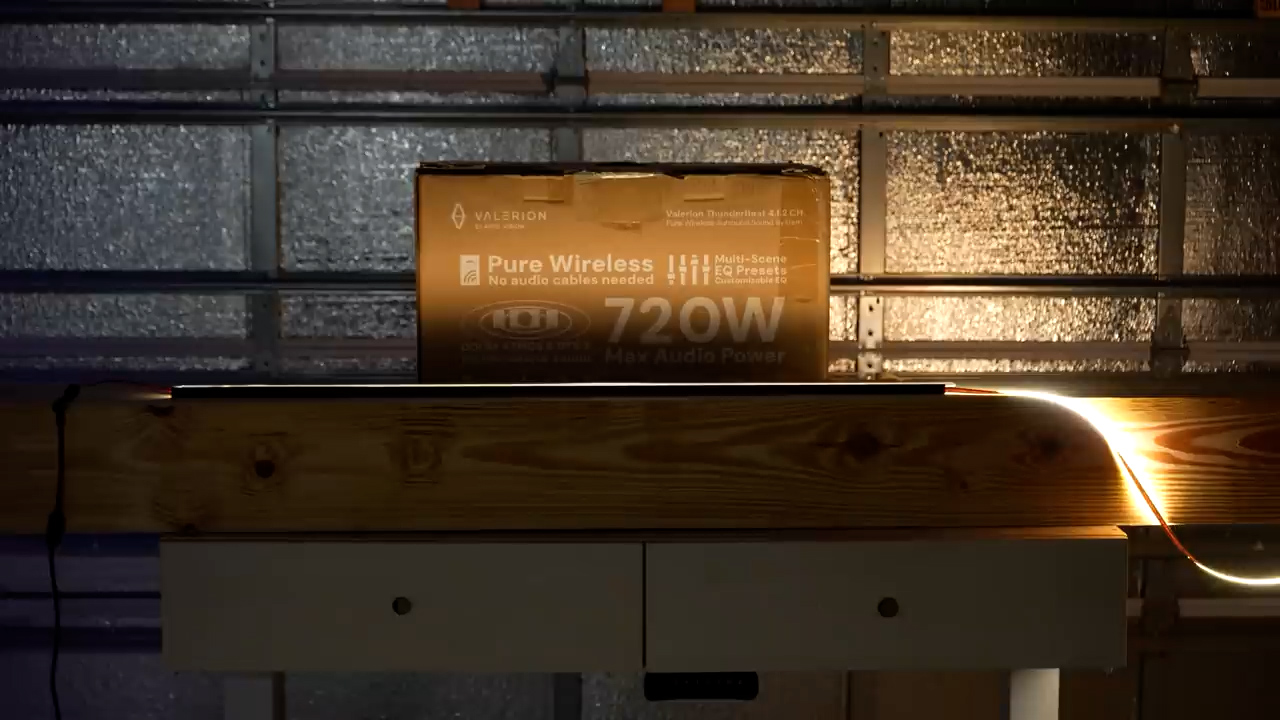
Here’s what it looks like 2 inches from the back, and that one was definitely my favorite, not only for the more concentrated light near the base, but also because the strip was completely hidden.

Then after I decided on the distance from the wall and orientation of the strips, I routed a channel in the mantle the exact width and depth of my diffusers so they would sit flush with the surface.
I then stained the mantle with the same espresso water-based poly that I used on the coffee bar and started the process of mounting it to the fireplace using a scrap piece of 4×4 and some 4-inch tapcons for the floating side. Next, I used a level and marked the position of the mantle on the shelf and screwed in a scrap piece of 2×4 to the outside of the built-in to support the other side.
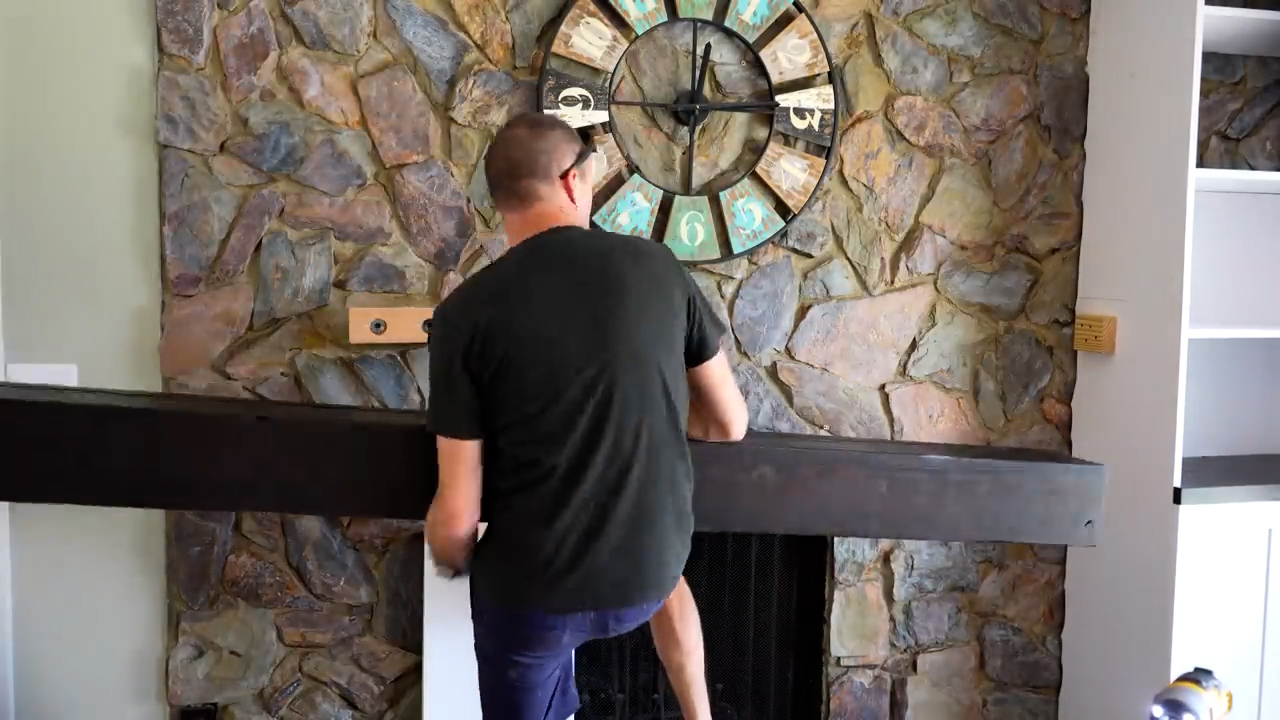
Like the back of the shelf, I also needed to scribe the mantle, so I marked out the rough shape of the stone, trimmed it using a jig saw, and put it back onto the mounts. Like the bookshelf, it was a C– effort but good enough, so I went ahead and screwed it in, putting the mounting screws inside the routed channel for the LED diffuser so they wouldn’t be visible.
Next, I put face framing on the cabinets so I could start installing the LEDs. I ran the mantle LED wires down through the inside of the mantle and behind the cabinet and soldered the wires on in place. For the shelves I installed the strips on the inside of the face framing pointing backwards and ran all the wires down the back, attaching them to the upper corner with hot glue to keep them out of sight.
For the LED controller I’m using a ZigBee Gledopto 201P. I installed the LEDs into three controllable channels: one for the top of the mantle, one for the bottom, and a third channel with all the shelves. To do that, all the wires get stripped, then all the positive wires get bundled and plugged into the V+ output on the Gledopto. Then, I put the negative wire for the top of the mantle into the Red channel, the bottom in the Green channel, and bundled all the negative wires of the shelves and plugged them into the Blue channel of the controller.
As far as I know, this is the only way to get individual control of three channels using the 201P. In Home Assistant it gets treated like a single color light, but you can control them individually by selecting a color. So, Red is just the top of the mantle, Green is just the bottom, but yellow, which is a mix of red and green, is both the top and bottom of the mantle. A little confusing, but it’s mostly a set it once and forget it thing.
Last, I zip tied the wires into a bundle and mounted the controller to the inside of the cabinet. After that, I put in the back panels to hide the LED wires, put a little bit of trim around the ceiling, hit the whole cabinet with some flexible caulk, and stole some decorations from around the house, and I couldn’t be happier with the result.
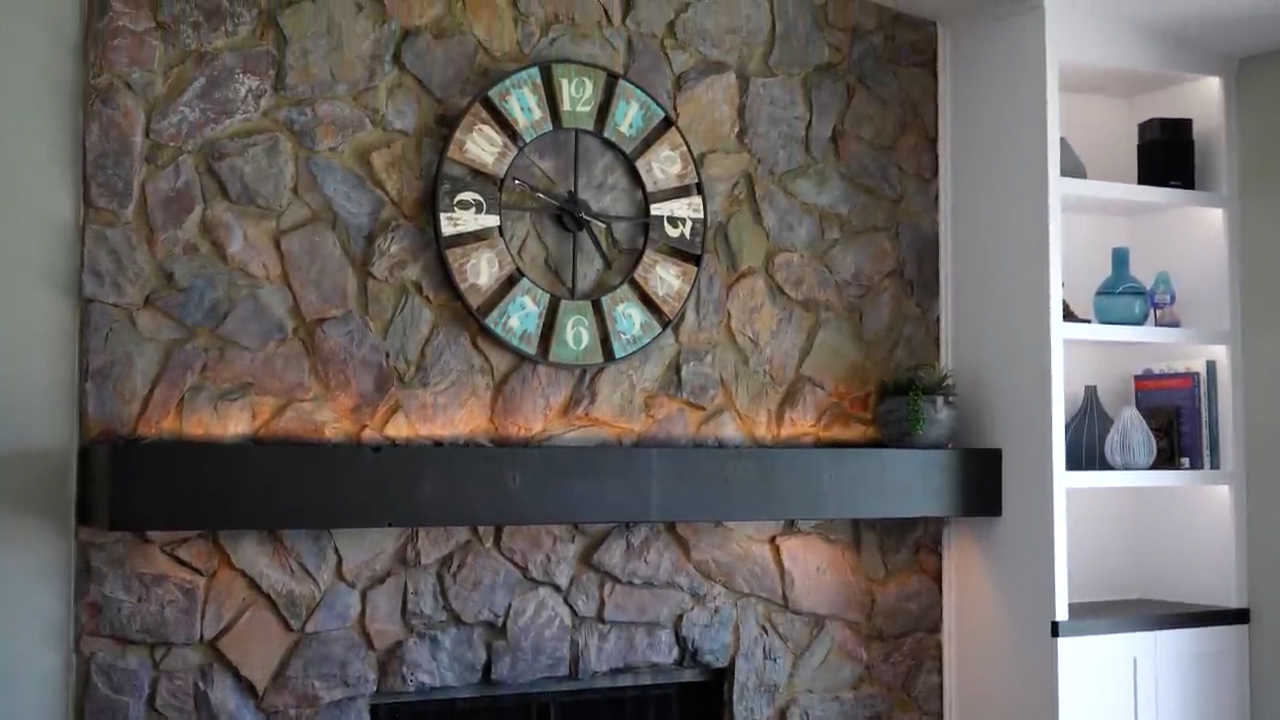
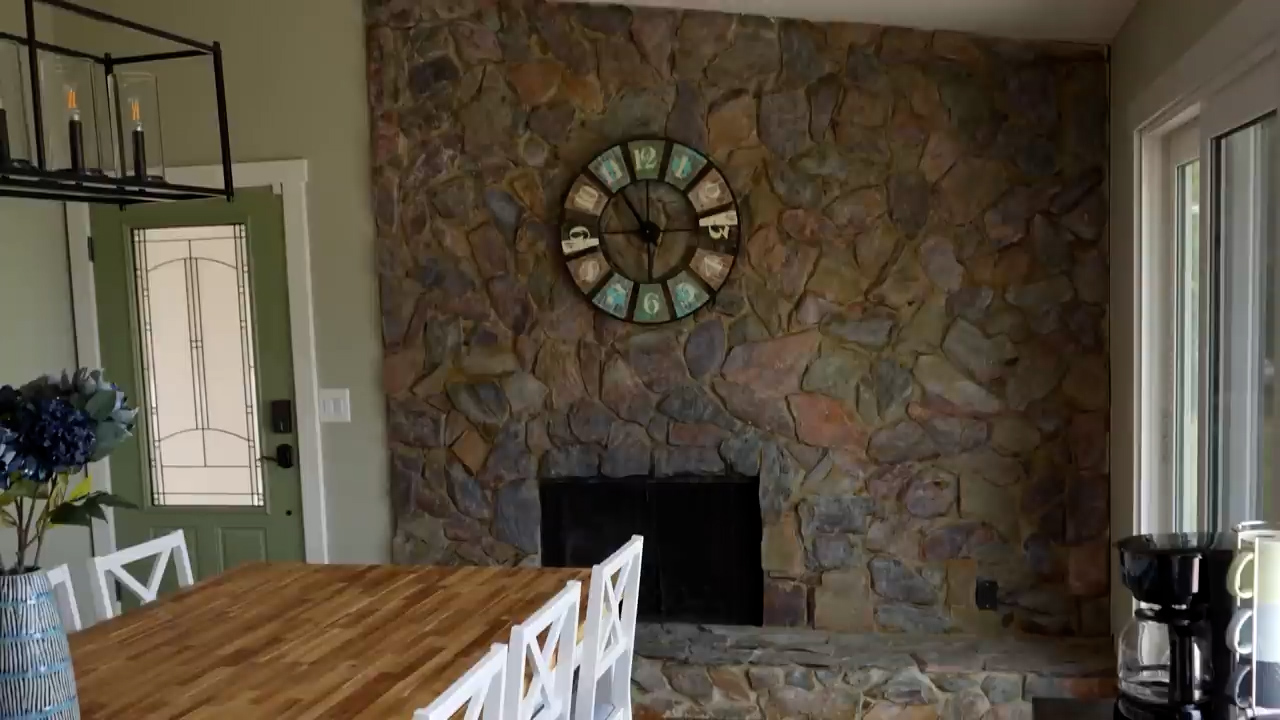
Just a reminder, here’s the before and here’s how it turned out.
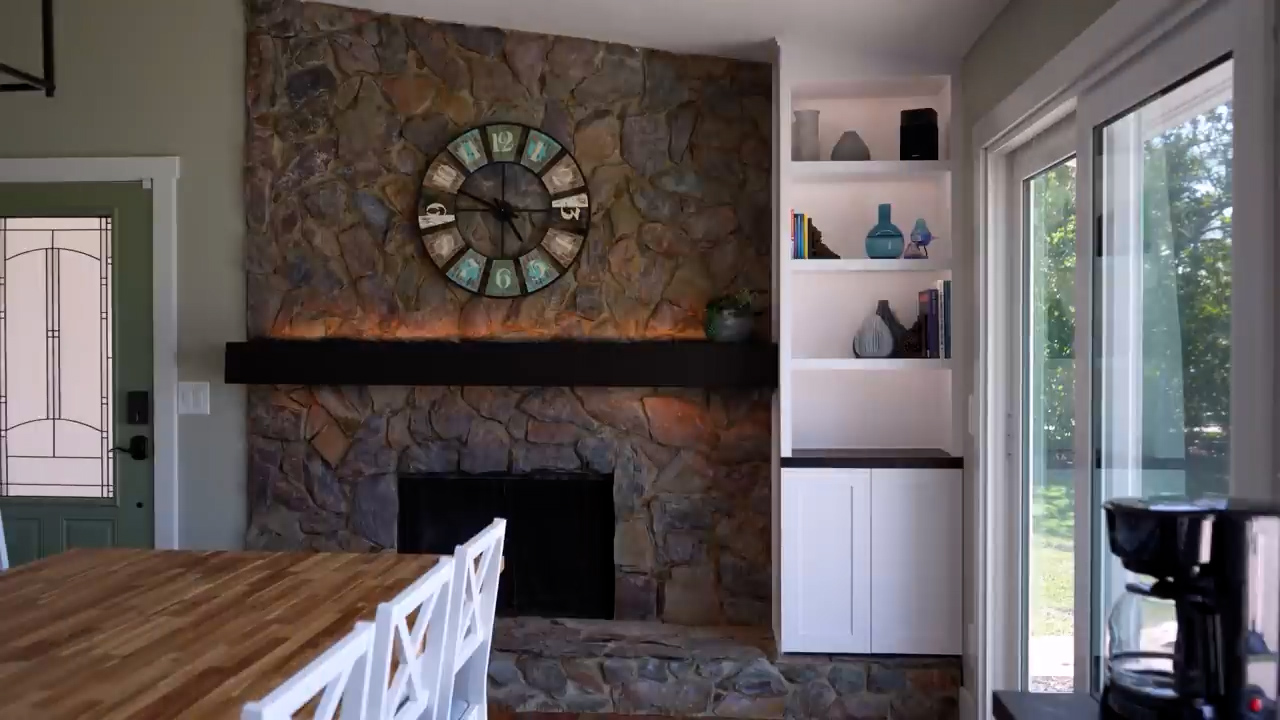
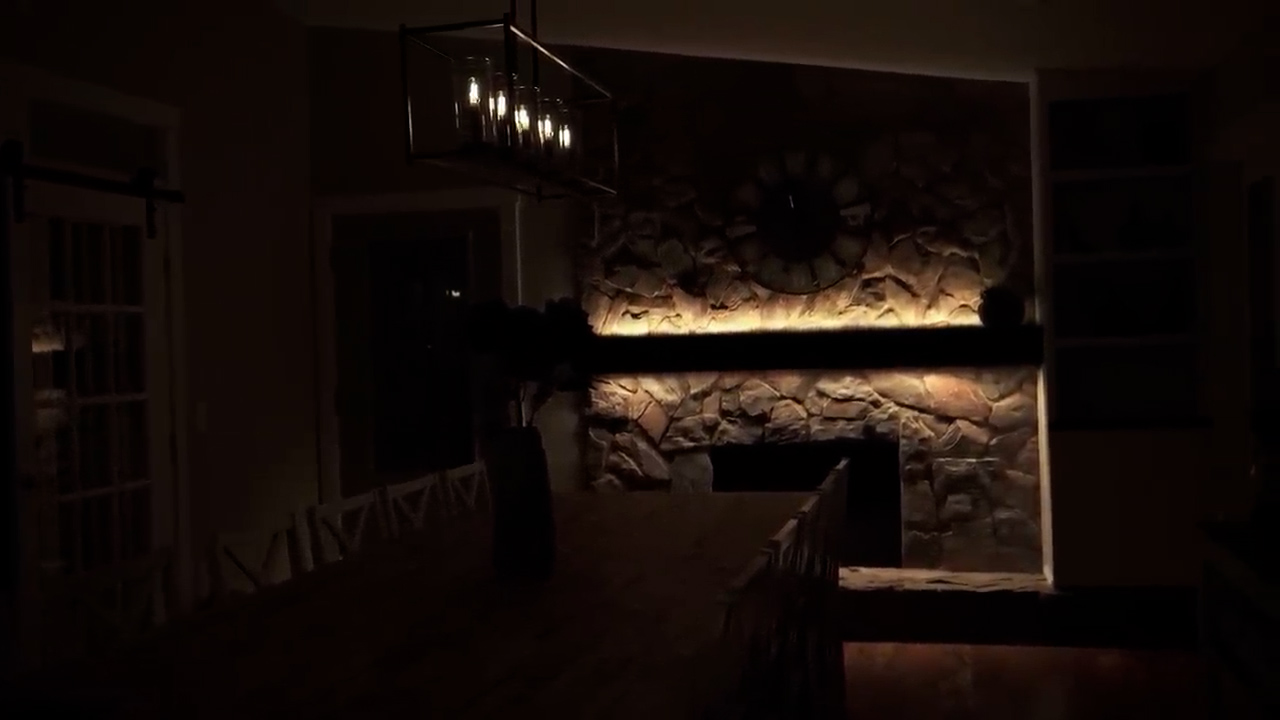
During the day, the white cabinet helps to lighten up the fireplace wall even without the LEDs on, and adding the LED lighting brightens up that corner of the room that tends to look dark when the rest of the room is being flooded with natural light through the sliders. The mantle LEDs really accent the color in the stone, and at night I prefer turning off the shelf lighting and leaving just the mantle LEDs which give a perfect moody ambiance to the entire room.
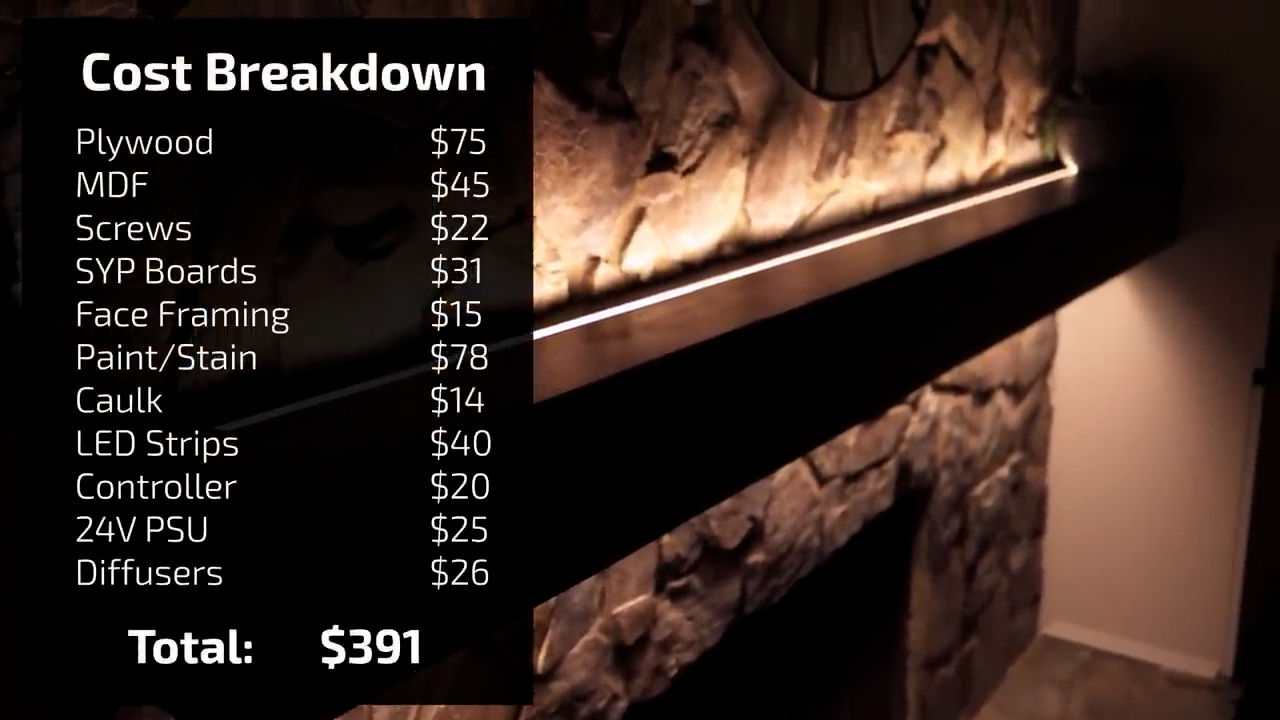
I have to say, the total cost for a fully DIY project like this is always higher than I’m expecting even using construction grade lumber. Here’s a breakdown of where the money went.
If you’re interested in the high CRI COB LED strips I used or the Gledopto controller, I’ve got videos on my channel testing those that I’ll link down below, and as always, thanks for watching The Hook Up.