Halloween Decoration Automations with Node Red and Falcon Player Pi
October 15, 2021Everything from this point on is totally optional, and unless you are already pretty familiar with automation and holiday light shows it will probably seems pretty overwhelming, but I’m hoping showing my setup will at least give you some ideas to implement at your house.
The first thing I wanted to tackle was being able to start specific videos at the same time on each projector so I could have ghosts travel around the house. To do this I used a program called xlights to create the sequence files, and then a program called falcon player pi to play them. The nice part about using xlights is that it’s typically used for holiday light shows, so I was also able to sequence my permanently installed house LEDs and LED props to follow along with the videos.
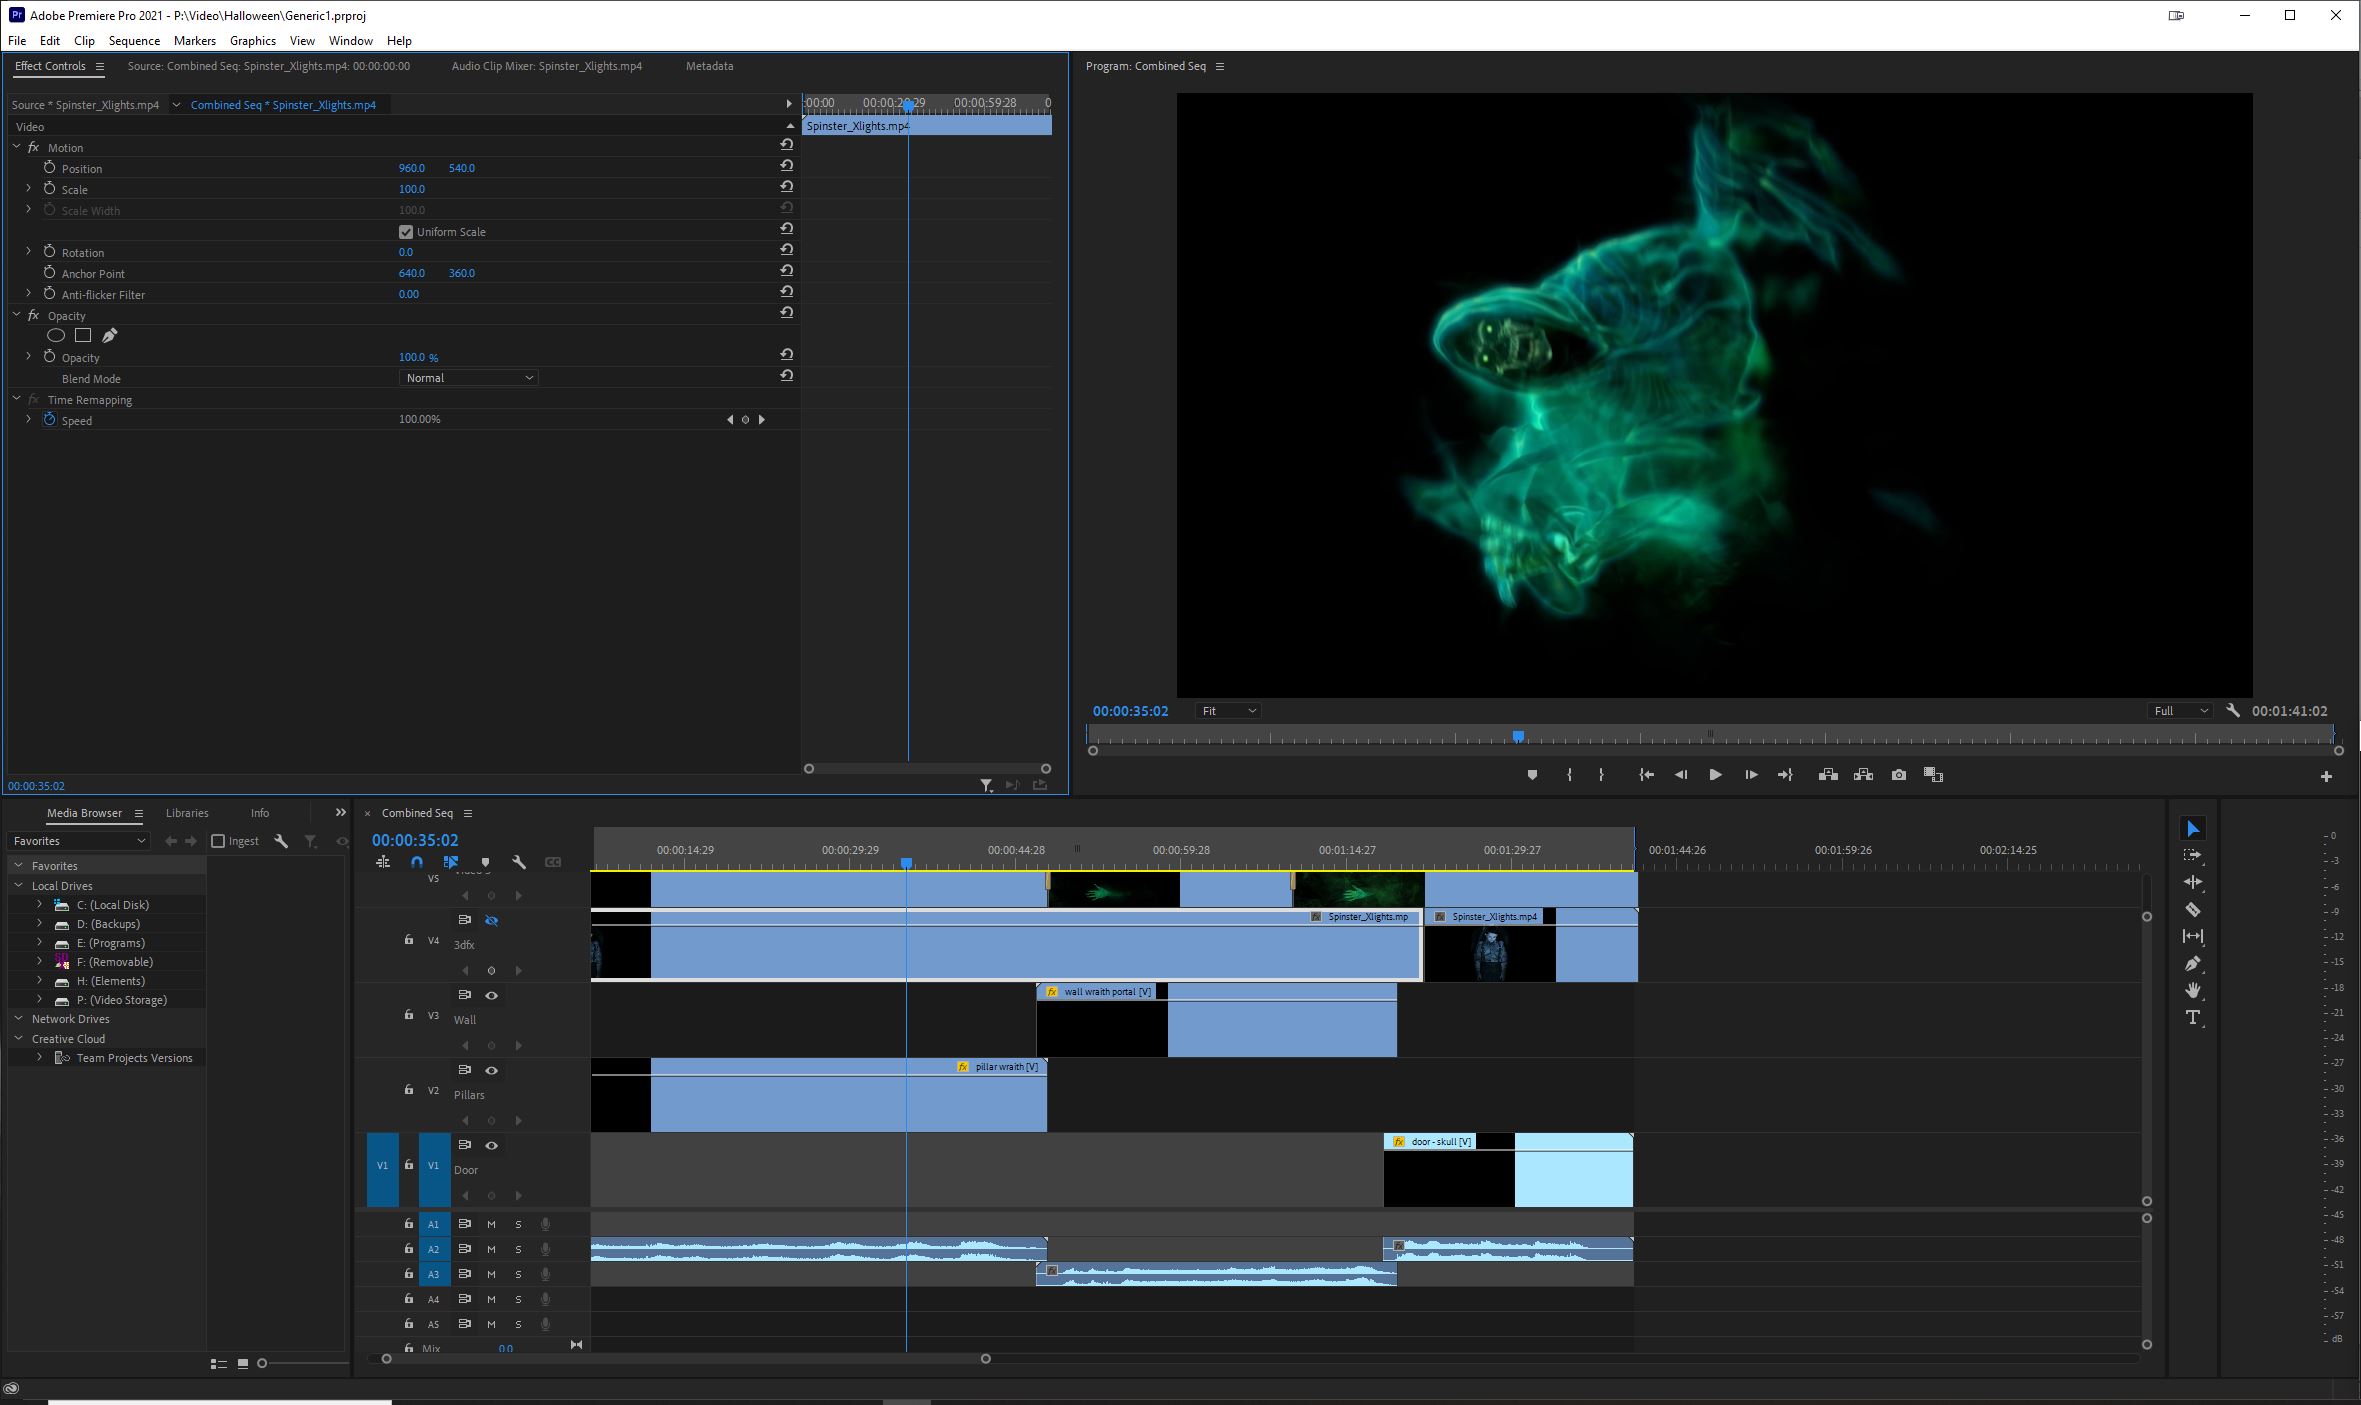
Step one was to create a unique video for each projector that included blank spaces for when the animation would be in a different part of the house. I happen to be a YouTuber so I already pay the ridiculous adobe premiere subscription fee, but you could easily accomplish this in iMovie or any other free movie editor. For this example I’m going to use 4 projectors and the wraith animation from the phantasms package. I want it to appear first as a hollusion between my front porch pillars, then come out of a portal on the second story wall, get sucked back into the portal, and finally do a jump scare skull on the front door.
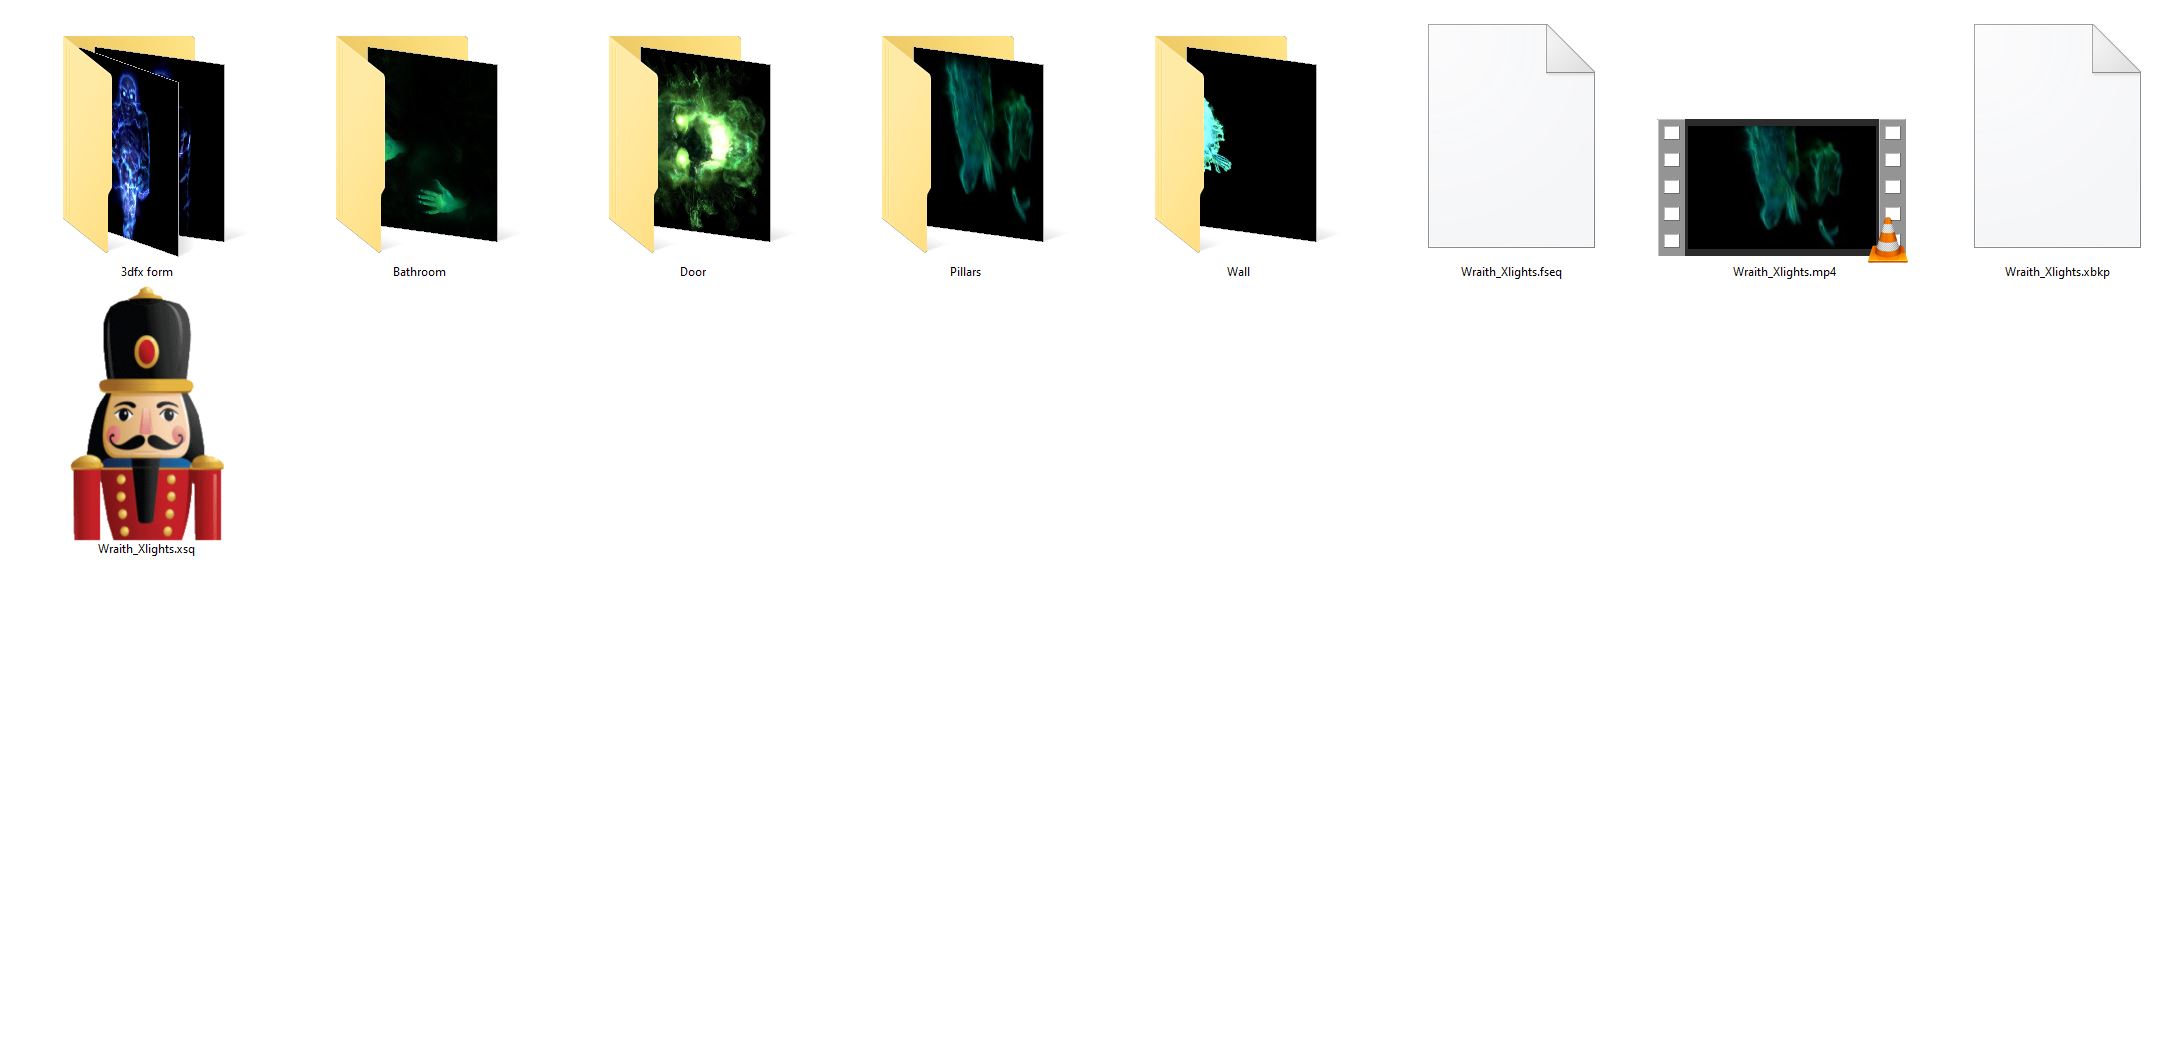
Next I needed to export each video separately so I created a folder with sub folders for each projector, and exported the file 4 different times with a different layer visible each time. The important thing is that each file is the exact same length and has the same filename.
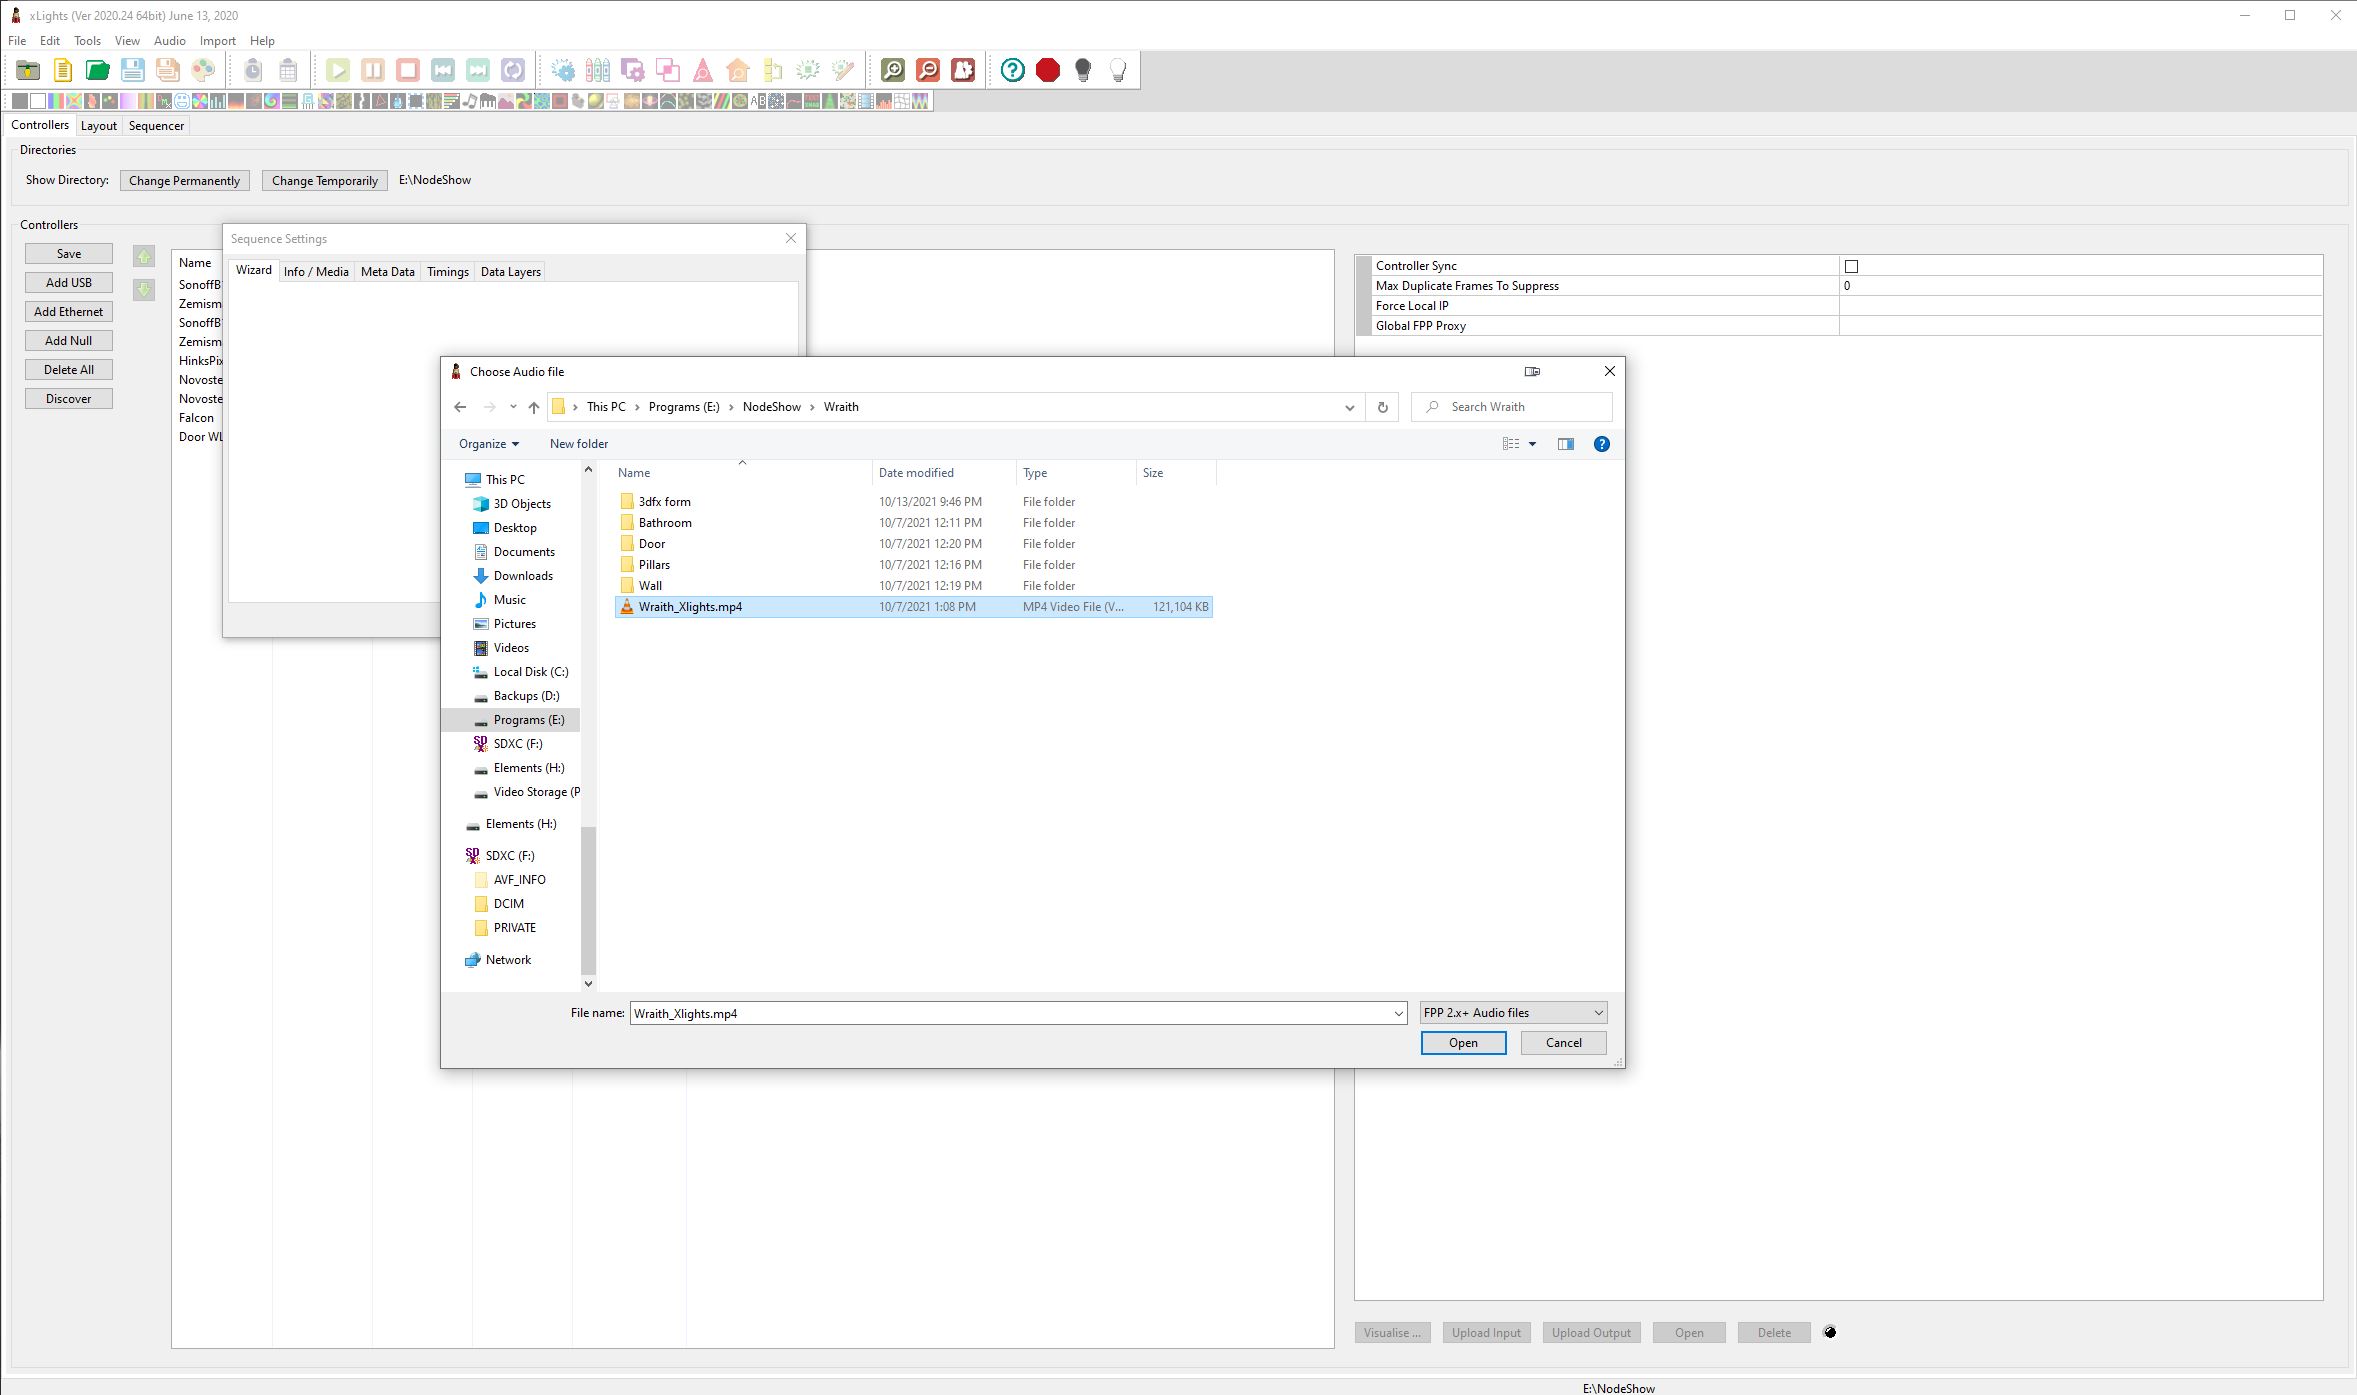
Next in xLights you can see that I already have my entire house mapped for light shows, but it’s not necessary to be able to sync up video. If you’re interested in light shows and xlights I’ve got a couple of beginner level videos on that subject. Anyways, create a new sequence and choose one of your video files as the audio file.
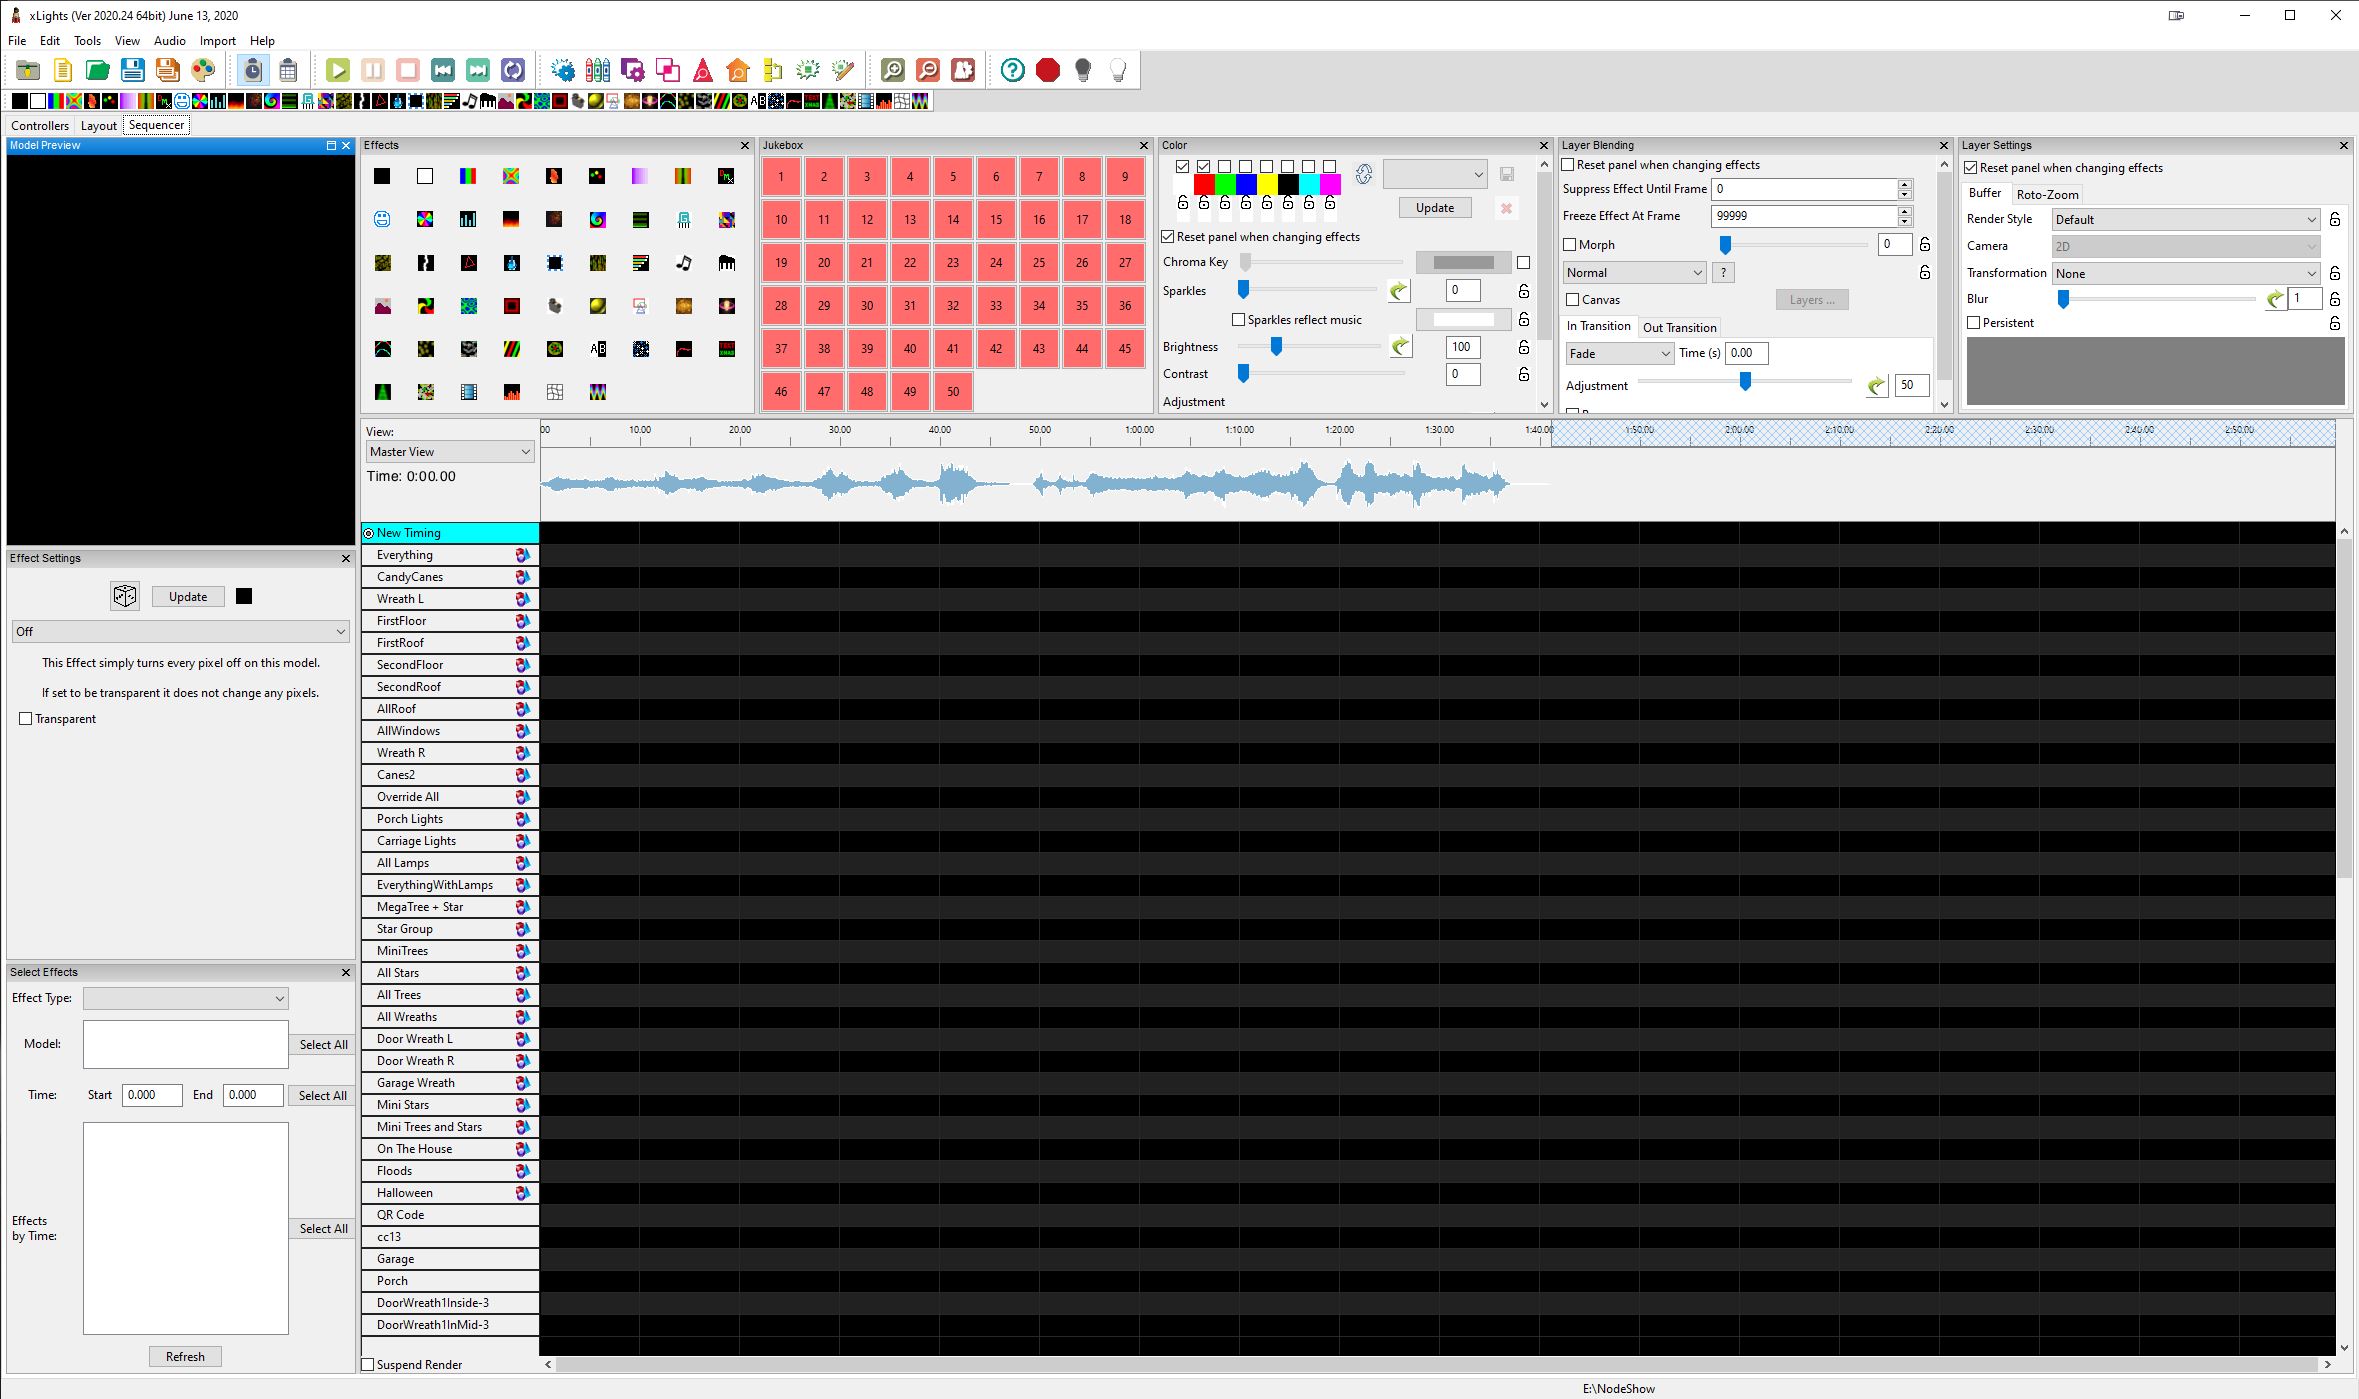
In this next window I could sequence my LEDs to follow the video, or if you don’t have LEDs you can just hit save and it will generate a fseq file.
To play those videos and fseq files, we’re going to use a program called Falcon player pi or FPP, which as the same suggests runs on a raspberry pi. In order to keep costs down I used the cheapest raspberry pi available which is the raspberry pi zero w. It’s possible that some of the issues I ran into later are because I choose this pi, and you might have a smoother experience if you use a raspberry pi 4 or even a 3b. Either way, download and install FPP on your SD card using etcher, then plug it in and wait a few minutes for FPP to go into wifi setup mode. Connect to the FPP hotspot using the password “Christmas” and then navigate to 192.168.8.1 to setup your home wifi information.
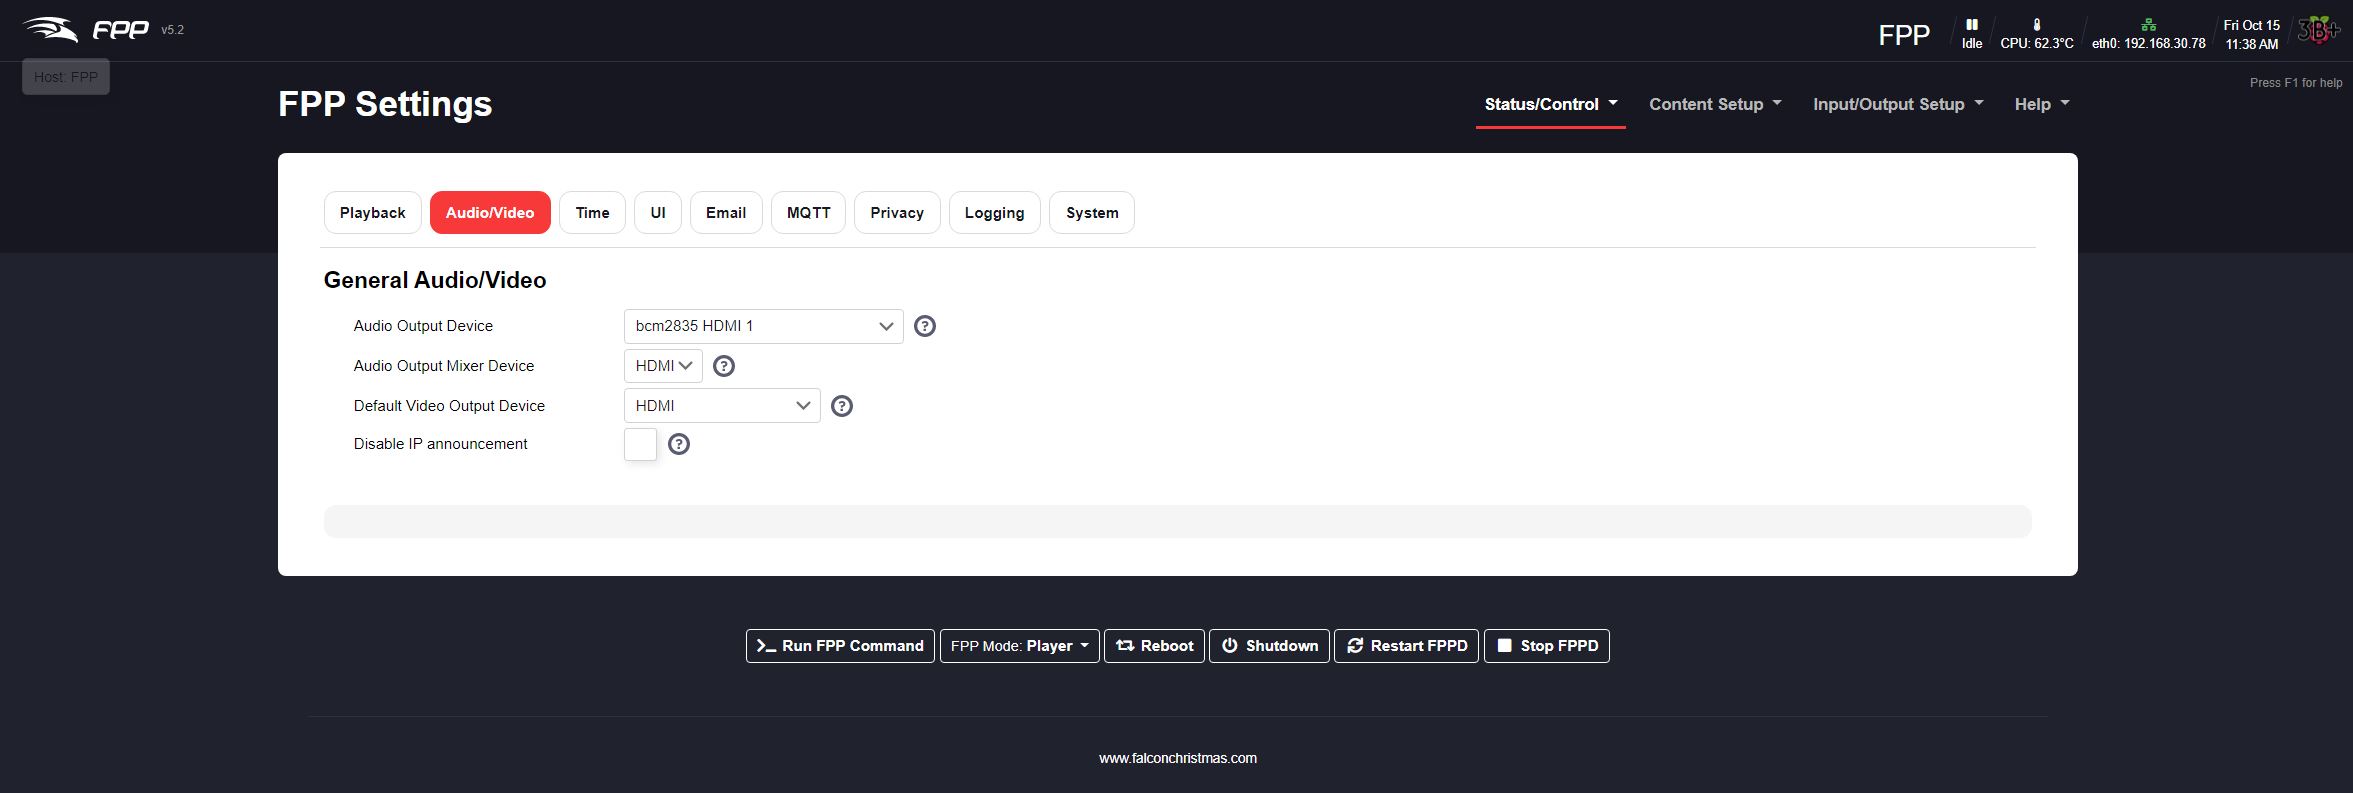
Once you’ve got your falcon player on your network you’ll want to change a few options to set it up for playing video. Under FPP settings click on Audio/Video. If you want your projector to play the audio from your files you should change the audio output device to HDMI, also make sure that default video output device is also set to HDMI in this window.

Then under the System heading select the Blank screen on startup and Force HDMI display checkboxes.
Repeat this same process on each of your raspberry pis for each projector.
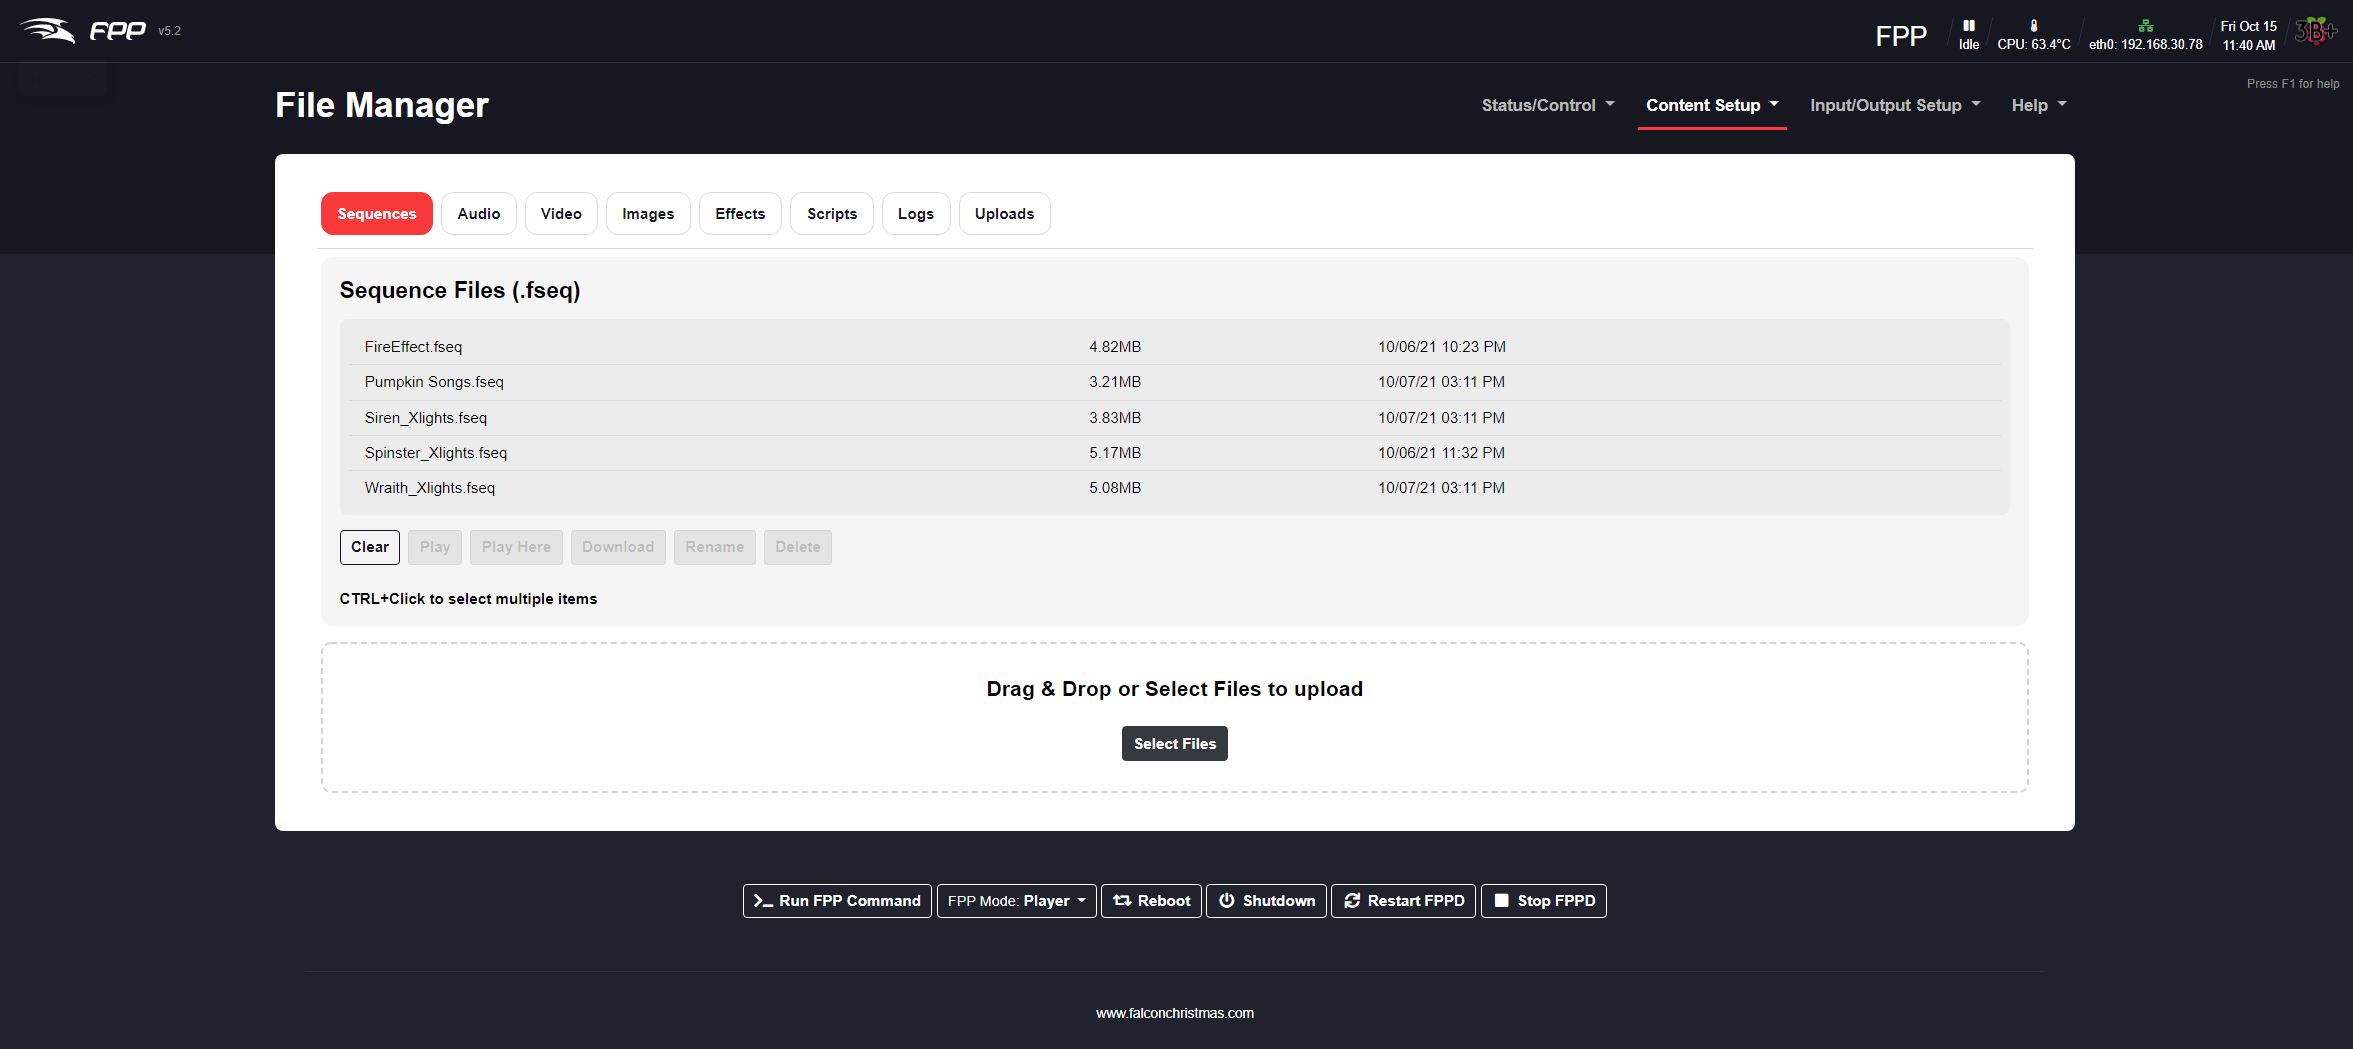
Next you’ll need to upload your video files and sequences. Do this under content setup, file manager, just drag each video and fseq file into that window. Once your files are uploaded you’ll create a playlist for each sequence with the fseq file as the sequence and the correct mp4 file as the media. Give your playlist a simple name with no spaces.
At this point from the status page you should be able to select a playlist, hit play, and see your video pop up on the projector, if that doesn’t work, try hitting the restart fppd button, wait for it to come back up, then try again.
This next section is how it is supposed to work, but I wasn’t able to make it work with my hardware, so give this a shot, and if it works, great, if not, keep reading and I’ll show you my workarounds.
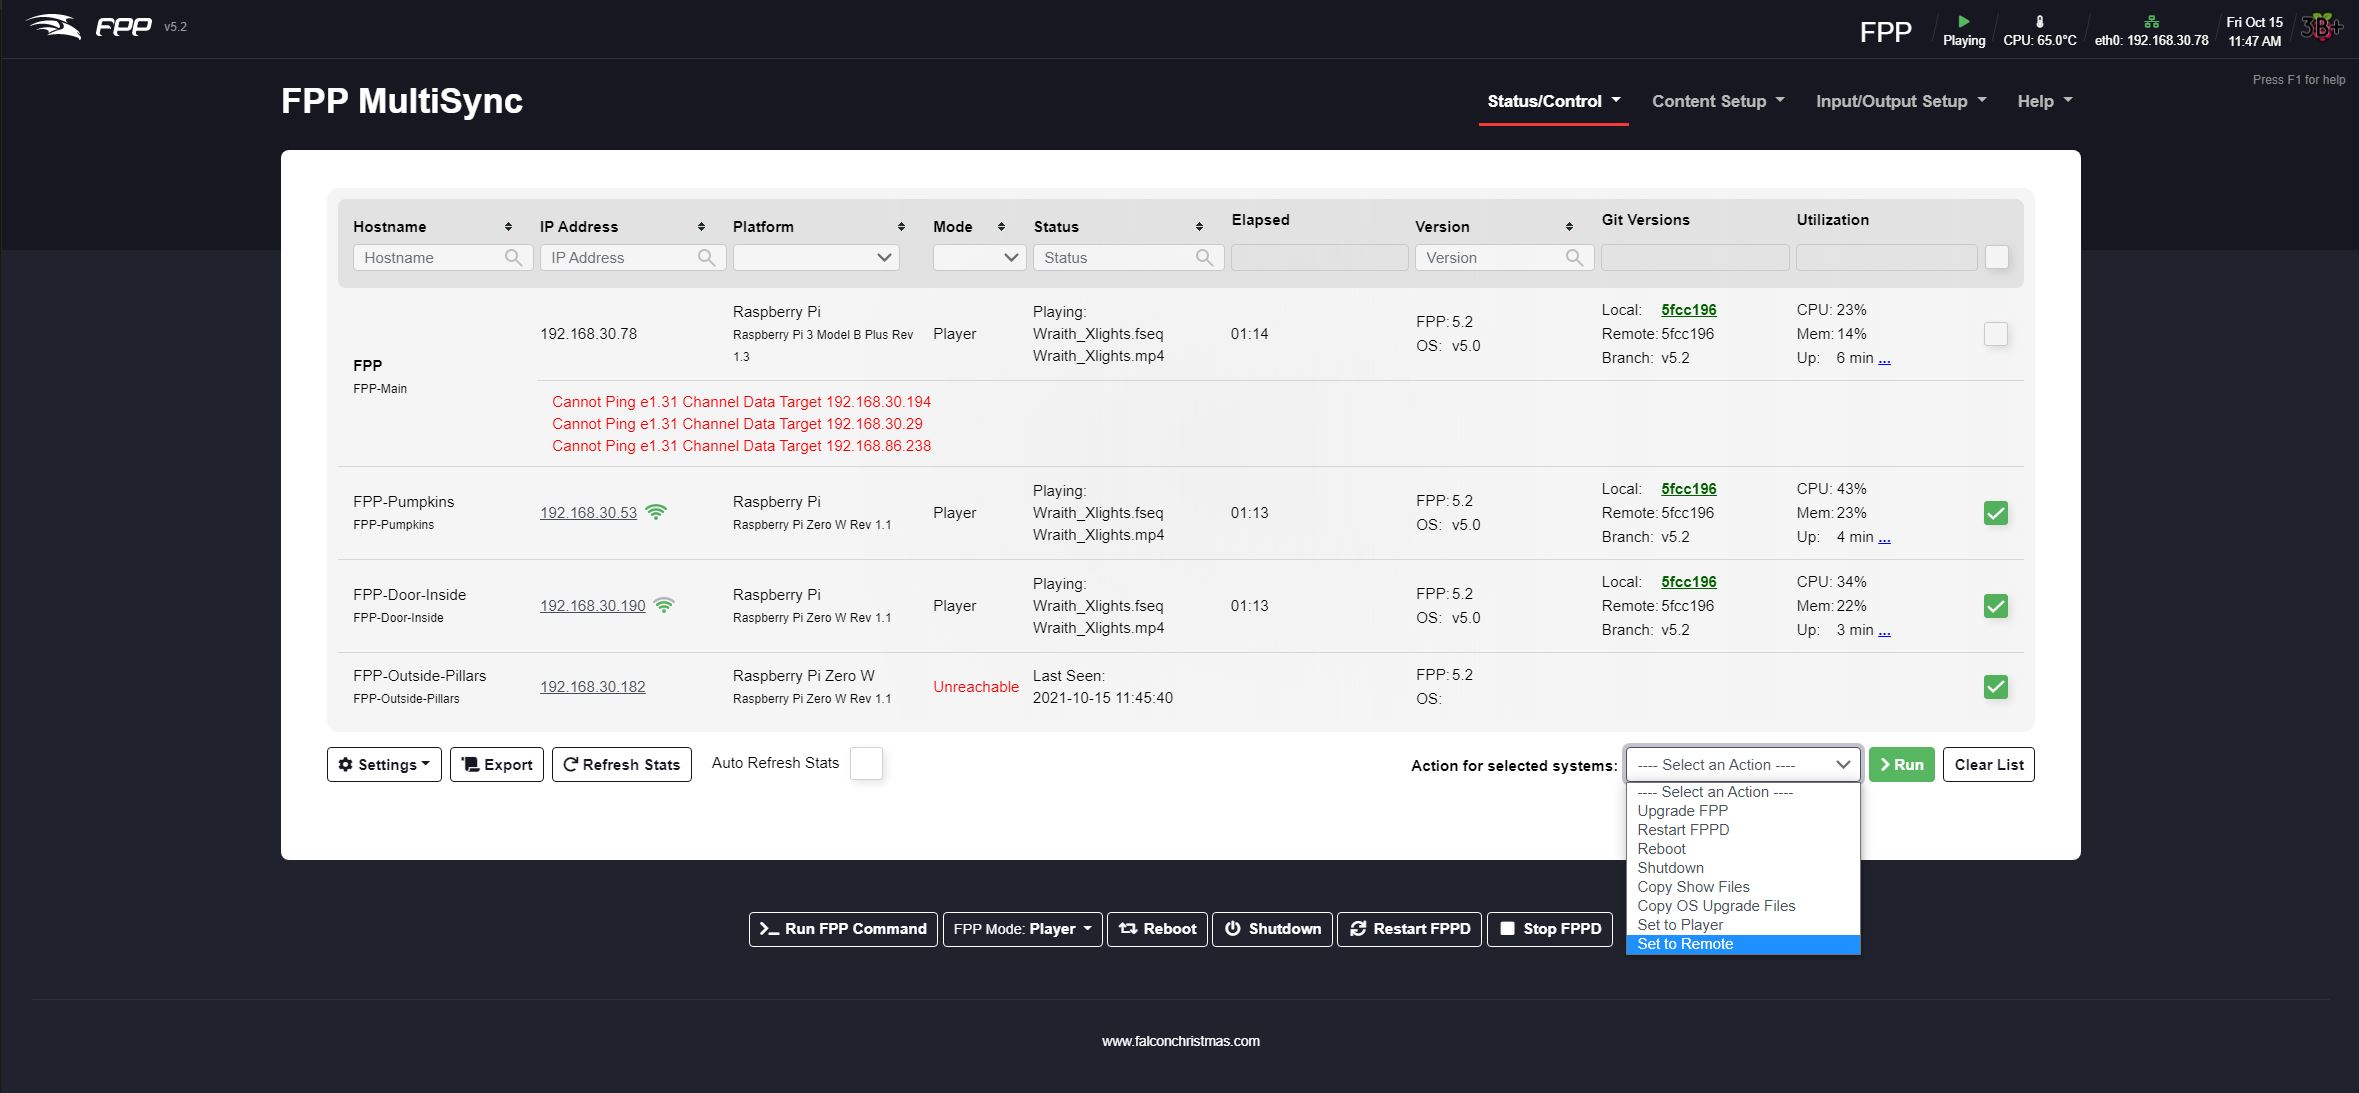
Out of the box FPP is supposed to be able to sync between multiple instances by setting one as the player and the others to remote. You can easily do this in the multisync menu of the master player by selecting the other FPP instances and then choosing “set to remote”.
In theory what should happen is that when you play a sequence on the master it will trigger each remote to play the same sequence and then it will adjust the speed of the video on each remote to keep them all in sync. In practice, I found that my remotes would almost always freeze within the first 10 seconds of video playback. After some digging I found the reason for this is that there is a maximum sync gap that can be overcome by increasing the speed of the video, and that is about 2 seconds. After that sync gap, FPP will instead do a seek on the video to try to skip to the correct location. Unfortunately, when videos are high resolution and slower processors are used like a raspberry pi zero, it often takes more than 2 seconds for the video to seek, resulting in another seek, and another, and so on. You can supposedly fix this by using a faster processor, lower resolution video files, or editing the FPP source code to allow for a larger sync gap to be overcome with video speed increases, but I didn’t try those solutions.
Instead I just used node red to start each FPP instance at the same time using http commands. Luckily falcon player pi has pretty good documentation of their API, so sending the command to start the playlist is as simple as updating the ip address and playlist name in this HTTP GET request:
http://192.168.30.190/api/command/Start%20Playlist/Wraith
But that’s not the end of the bug squashing. For me, after about 10-15 minutes, video playback seems to stop, and falcon player says that it’s playing video, but it clearly isn’t. The fix for this is to restart the falcon player service on the pi, not the pi itself, just FPPD. I also found that the quick reload version of this is able to fix the bug, so it only takes a few seconds when using this HTTP GET request:
http://192.168.30.190/api/system/fppd/restart?quick=1
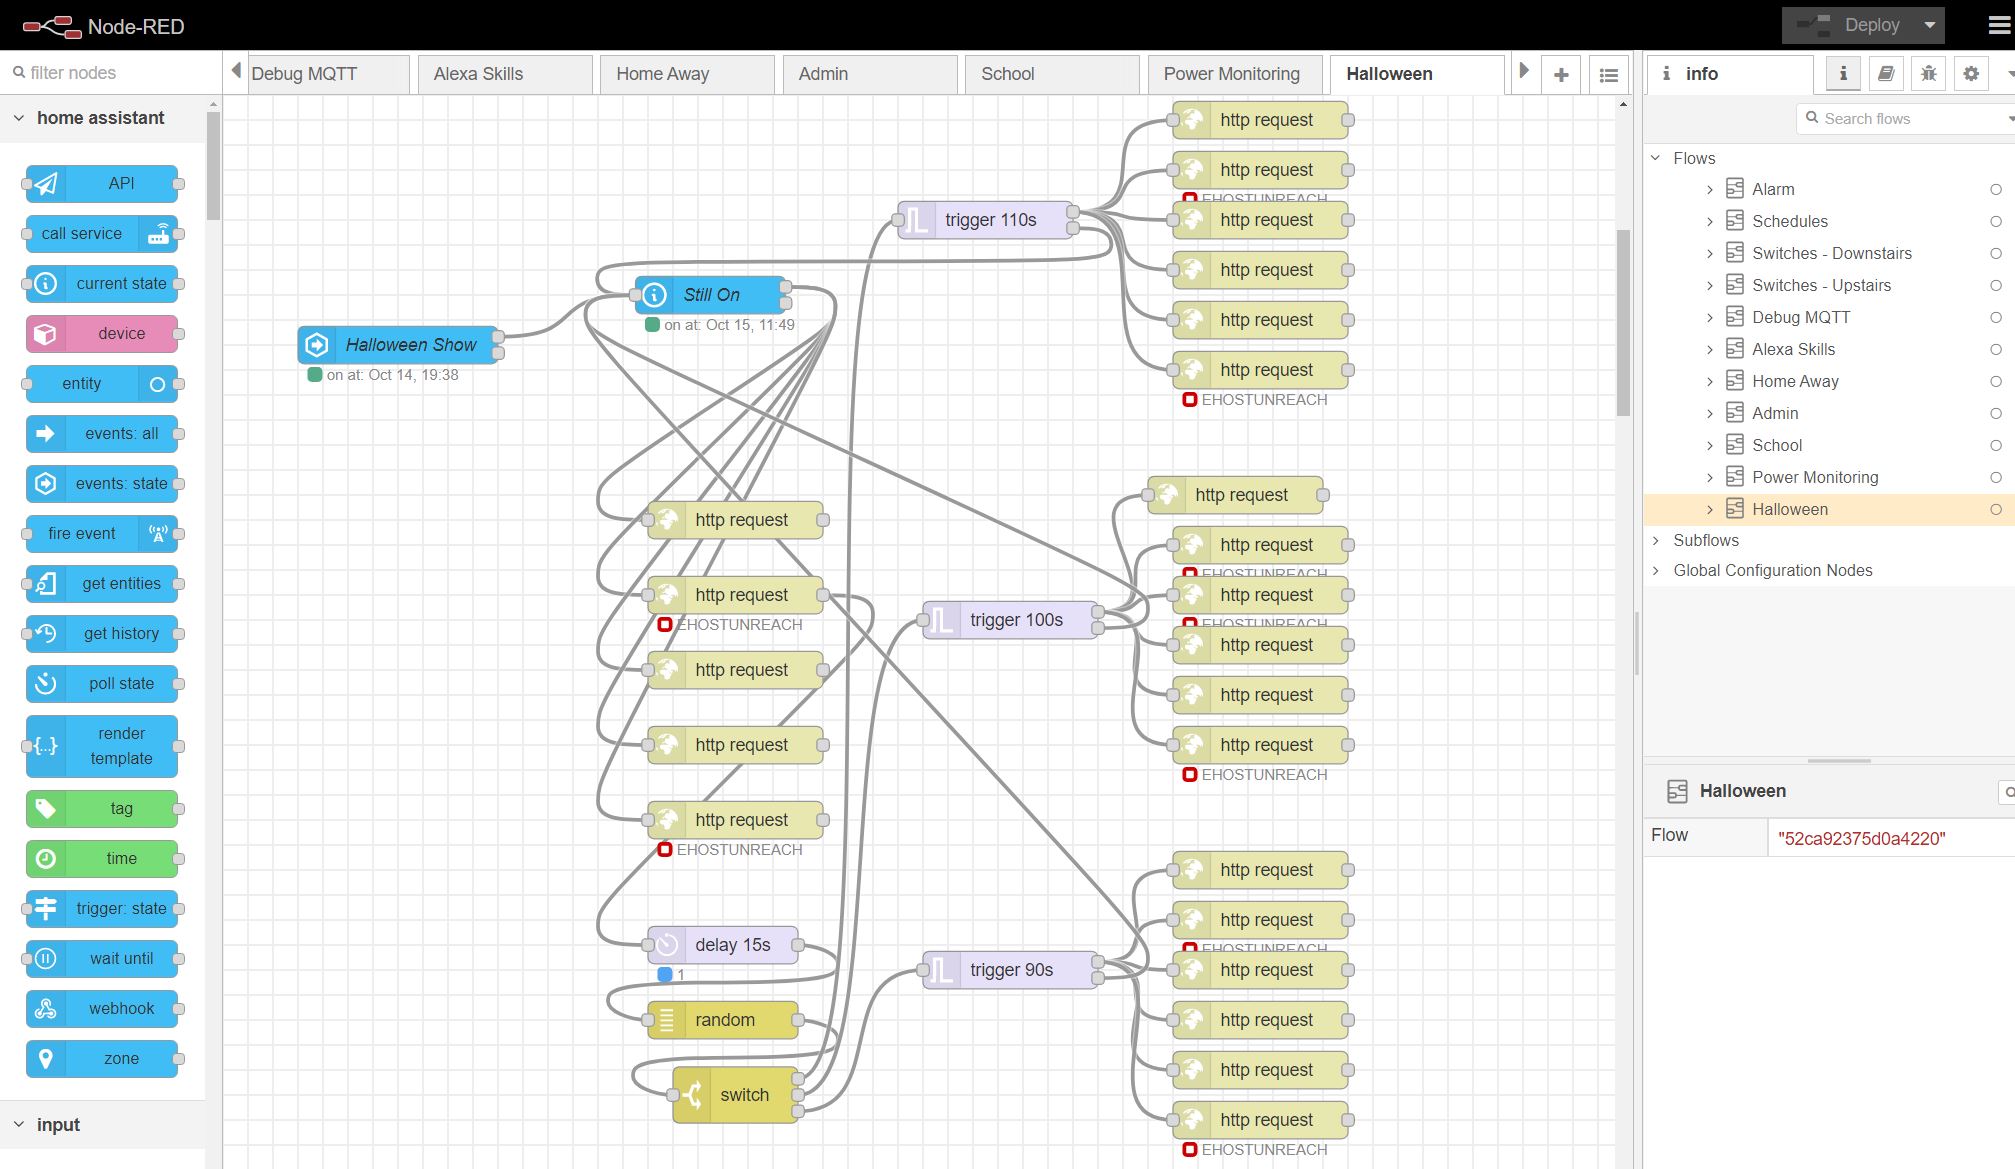
Putting it all together I use a home assistant input Boolean called Halloween show to trigger the sequence, then it sends an HTTP GET request to restart FPPD on all of the falcon players that need to play video, then it waits for 15 seconds for them to come back online, picks a random value from 1-3 and selects a playlist based on that value. I use the trigger node to start the playlist and then wait a specific amount of time based on the length of the particular video and send another message back into the input Boolean to see if the Halloween show should still be running, and if so it repeats the process.
A similar flow handles the motion detection for the front door jump scare by randomly selecting a playlist of 7 possible jump scares. Because timing is important here, I didn’t have it restart FPPD, but that’s fine because the main loop will restart it approximately every 2 minutes. However, I didn’t want it to restart in the middle of a jump scare, so I added a check using falcon player’s MQTT to see whether the door is currently playing a jumpscare before trying to restart. The same type of MQTT check exists for the 3DFX model to make sure it’s not in the middle of a story when the reset loop happens.
If you’ve got questions on this setup PLEASE leave a comment on the YouTube video or come join the Hook Up Home Automation group on facebook. I do not monitor the comments on this website due to the incredible amount of spam (hundreds of messages a day). I hope something here inspired you, Happy Halloween!